

A sliding glass shower door is one of the most satisfying bathroom upgrades a homeowner can complete in a single weekend. No permits, no licensed contractor required, no major plumbing changes. The tools are standard. The steps are logical. The result — a frameless glass enclosure where a curtain or outdated framed door used to be — is immediately and permanently visible every time you walk into the room.
What makes the installation fail isn't the hanging. It's what happens before the box opens.
This guide covers both the preparation phase that most tutorials skip and the complete installation sequence for sliding frameless shower doors — including the UKS04 barn-style single sliding and the UKD01 double bypass — with fault-finding answers for the four problems that come up most often.
Before You Open the Box: Four Pre-Installation Checks
Remeasure width at three heights — 6 in. up, mid-height (~36 in.), 6 in. below door top. All three readings must fall within the door's stated adjustment range. If any falls outside, contact Unikoo at 888-404-5533 before unsealing the crate.
Check for dents, punctures, or impact damage. If damage is visible, photograph it and note it on the delivery receipt before the driver leaves. Then open carefully and inspect glass and hardware for transit damage.
Hold a 4-foot level vertically against each wall where hardware mounts. Up to 1/8 in. off over door height: within tolerance. More than 1/4 in.: shim hardware mounting or address wall before installing.
Silicone applied over uncured grout will fail within months. Cement grout: 72 hours minimum. Epoxy grout: follow manufacturer guidance. If tile work was completed less than 72 hours ago, wait.
Tools Required

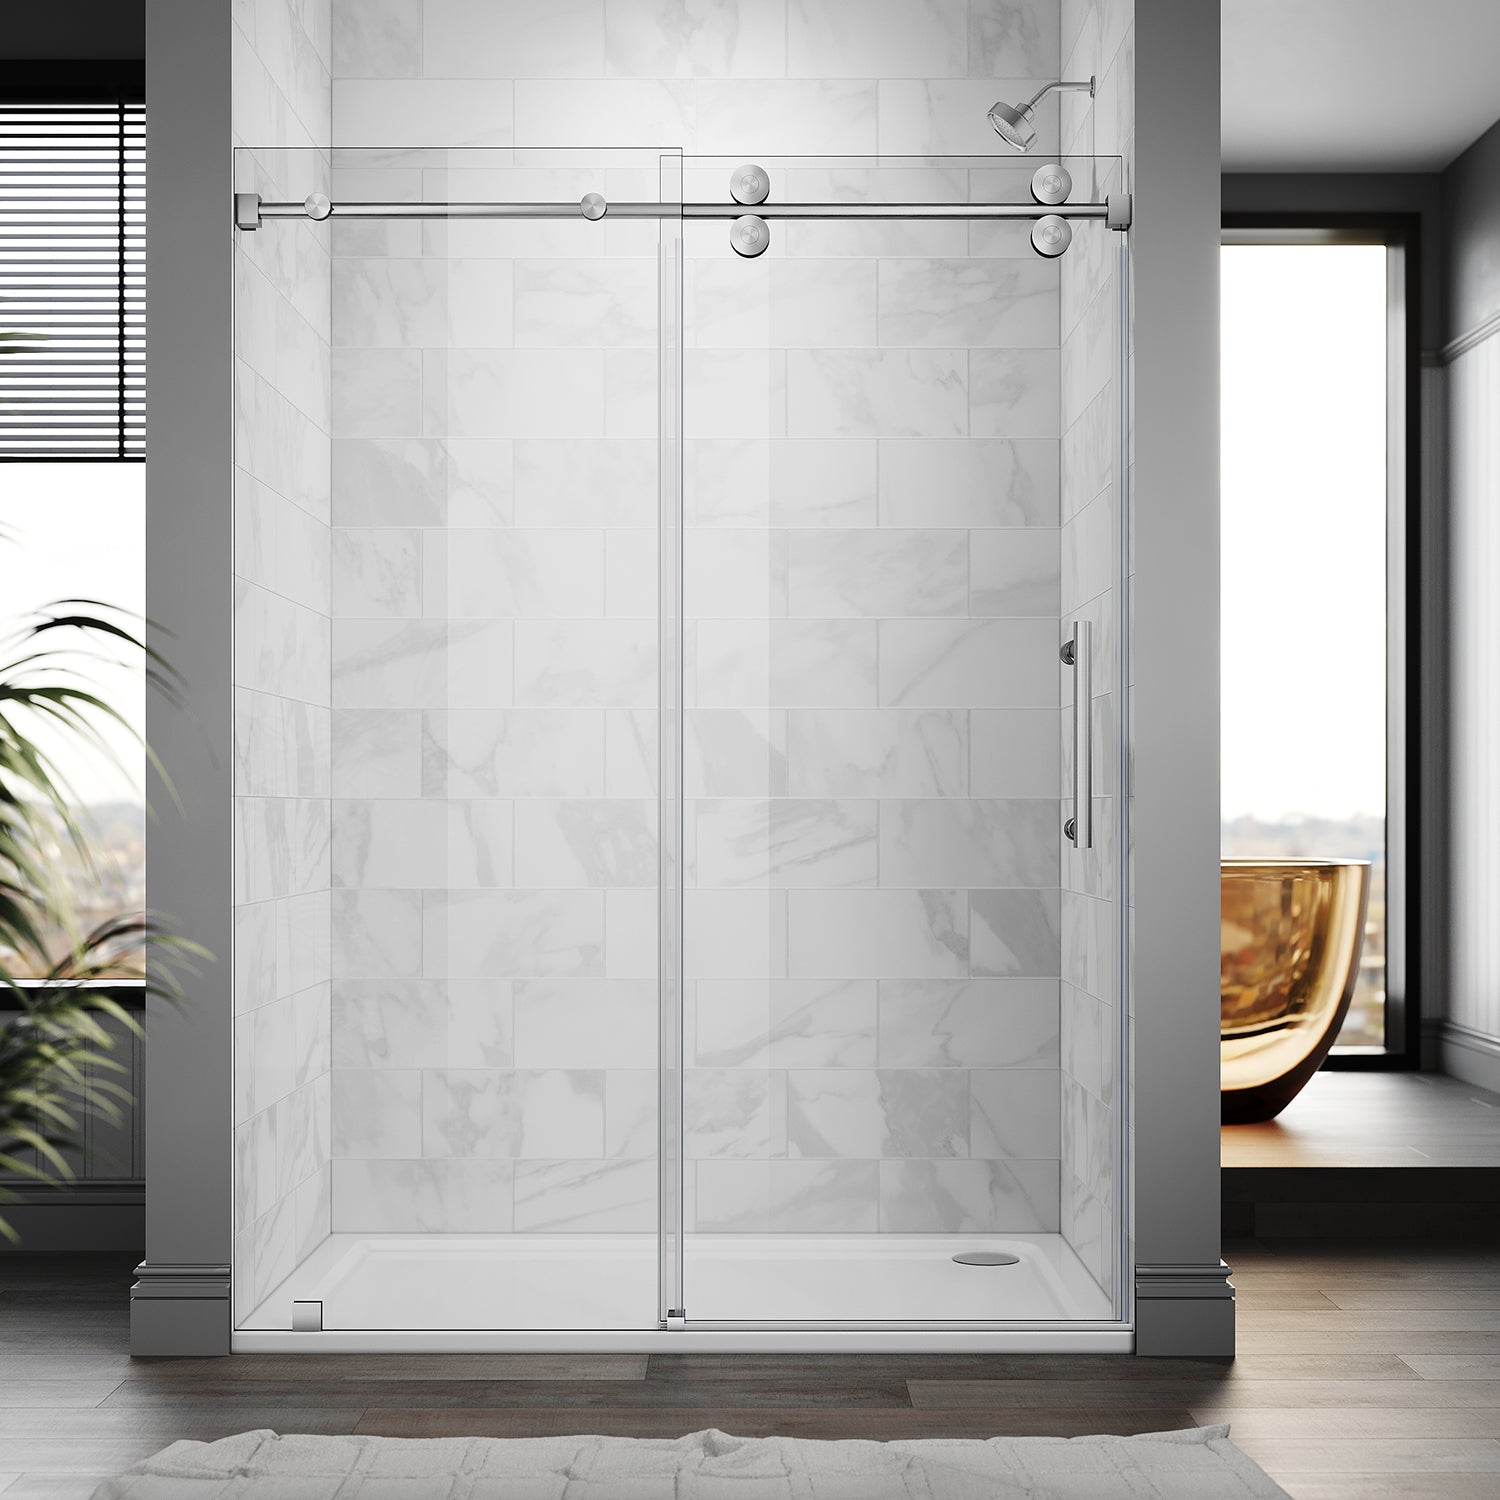
Part A: UKS04 Barn-Style Single Sliding Door
Opening range: 50–65 in. · Height: 76, 80, or 84 in. · Top-mount track, no bottom track
Measure up from the shower floor to your door height on both walls. Mark both points. Use your level to draw a horizontal line connecting them — level to true horizontal, not parallel to the floor. In most bathrooms these differ. If the line isn't level, the panel rolls toward the low end under its own weight.
Hold the top track bracket against the tile at your level line. Mark the screw hole positions using a pencil through the hole, or a small piece of painter's tape folded over the bracket edge. Mark both bracket positions before drilling anything.
Diamond-tip bit at medium speed. Drill through tile, adhesive, and into the substrate. Insert anchors appropriate for your wall type — tile over cement board and tile over drywall require different anchors. Anchors carry the full weight of the glass panel.
Mount wall brackets to anchors. Hang the top track on the brackets. Check level one final time before tightening all fasteners fully. A track 1/8 inch out of level across a 60-inch span produces a door that drifts noticeably toward the low end.
Lay the glass panel flat on a padded surface. Attach roller assemblies to the pre-drilled holes at the top edge. Hand-tighten only — final torque after panel hangs and alignment is confirmed.
One person holds the panel from below, keeping it vertical and steady. The second guides the rollers up and onto the track from below. A definite seating click means correctly engaged. Do not force it. If rollers won't seat, check bracket spacing matches roller spread in your installation manual.
Slide panel to closed position. Mark where the bottom edge contacts the wall. Mount the bottom guide at that point — light contact with the glass edge, preventing lateral swing without resisting sliding motion. Confirm panel slides full range freely before tightening guide fully.
Attach door handle per manual. Apply continuous neutral-cure silicone bead along both wall contact edges. Smooth with wet finger. Allow 24 hours cure before running water.

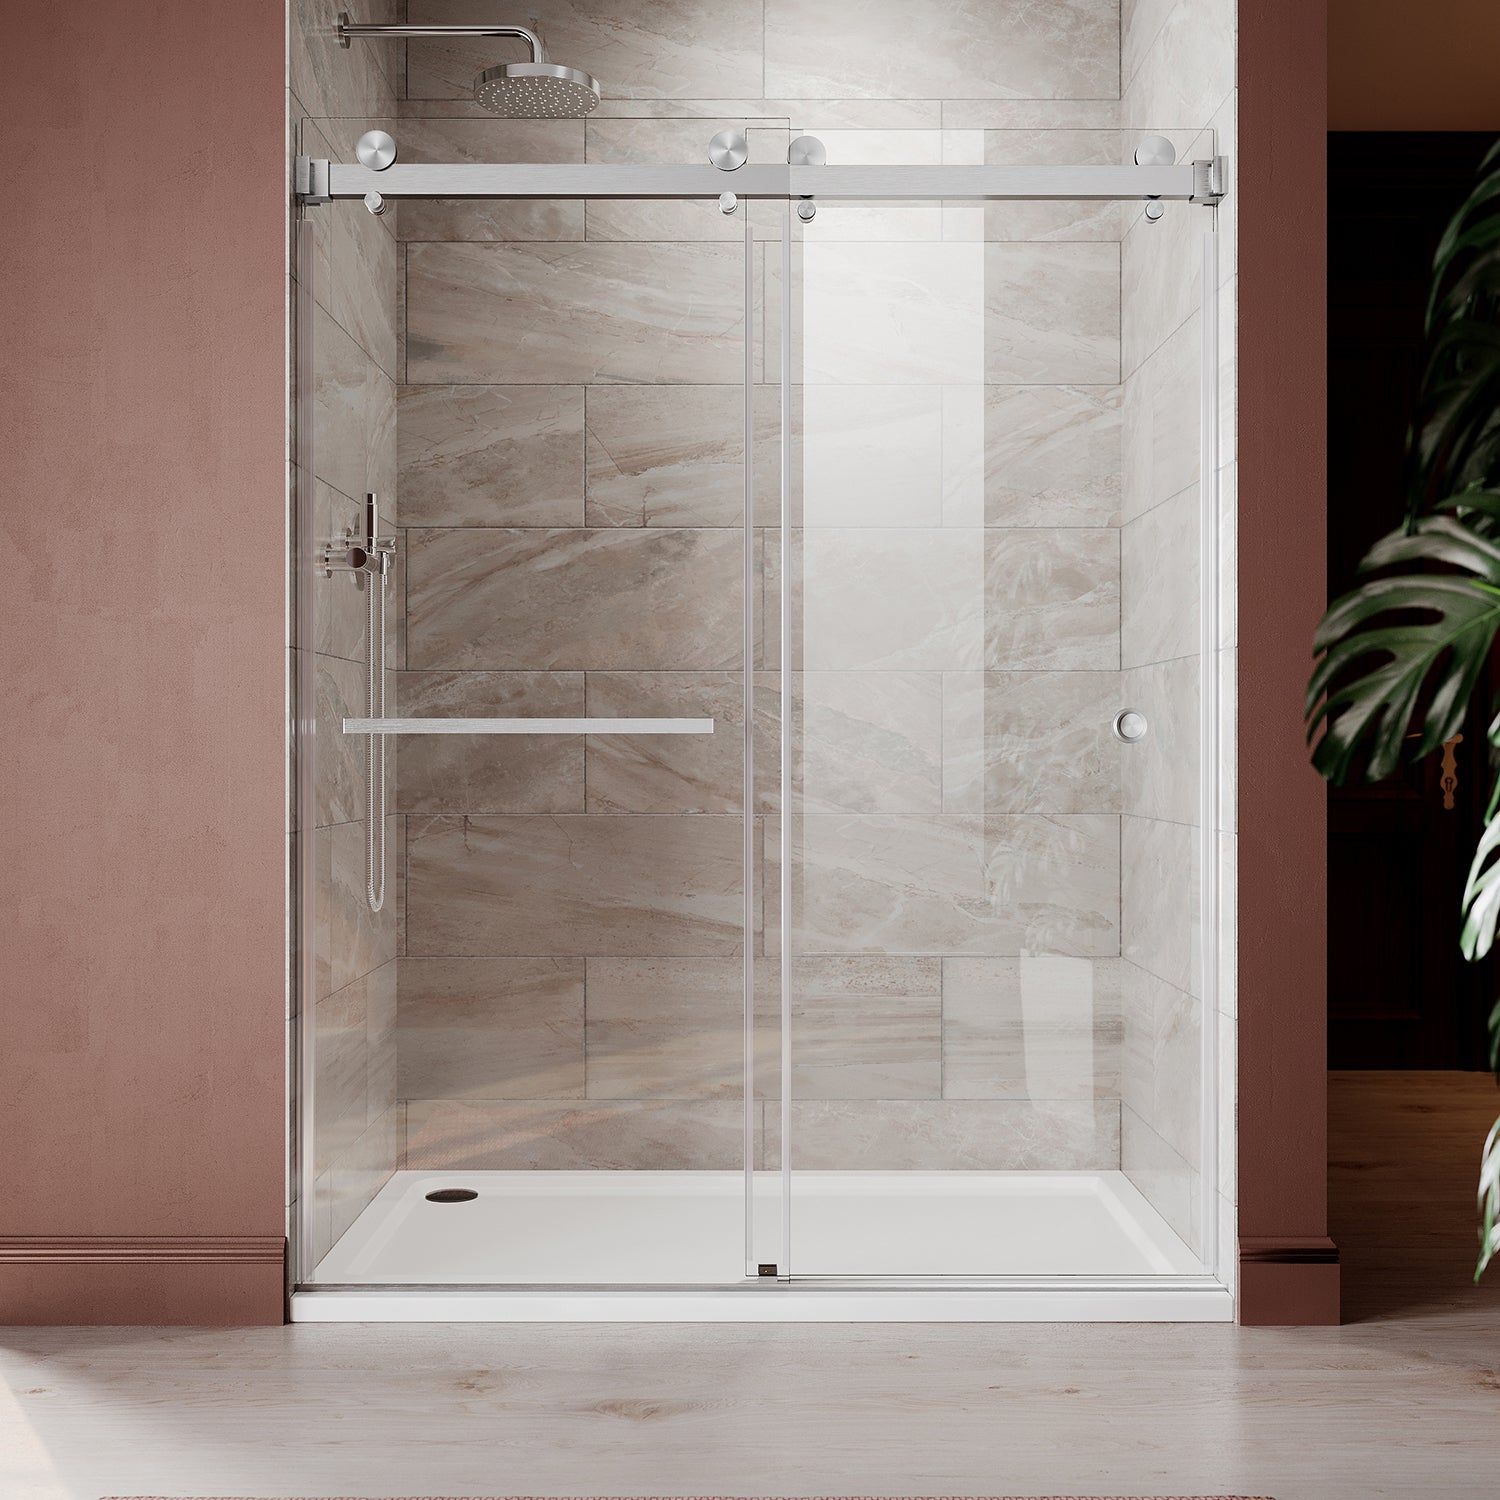
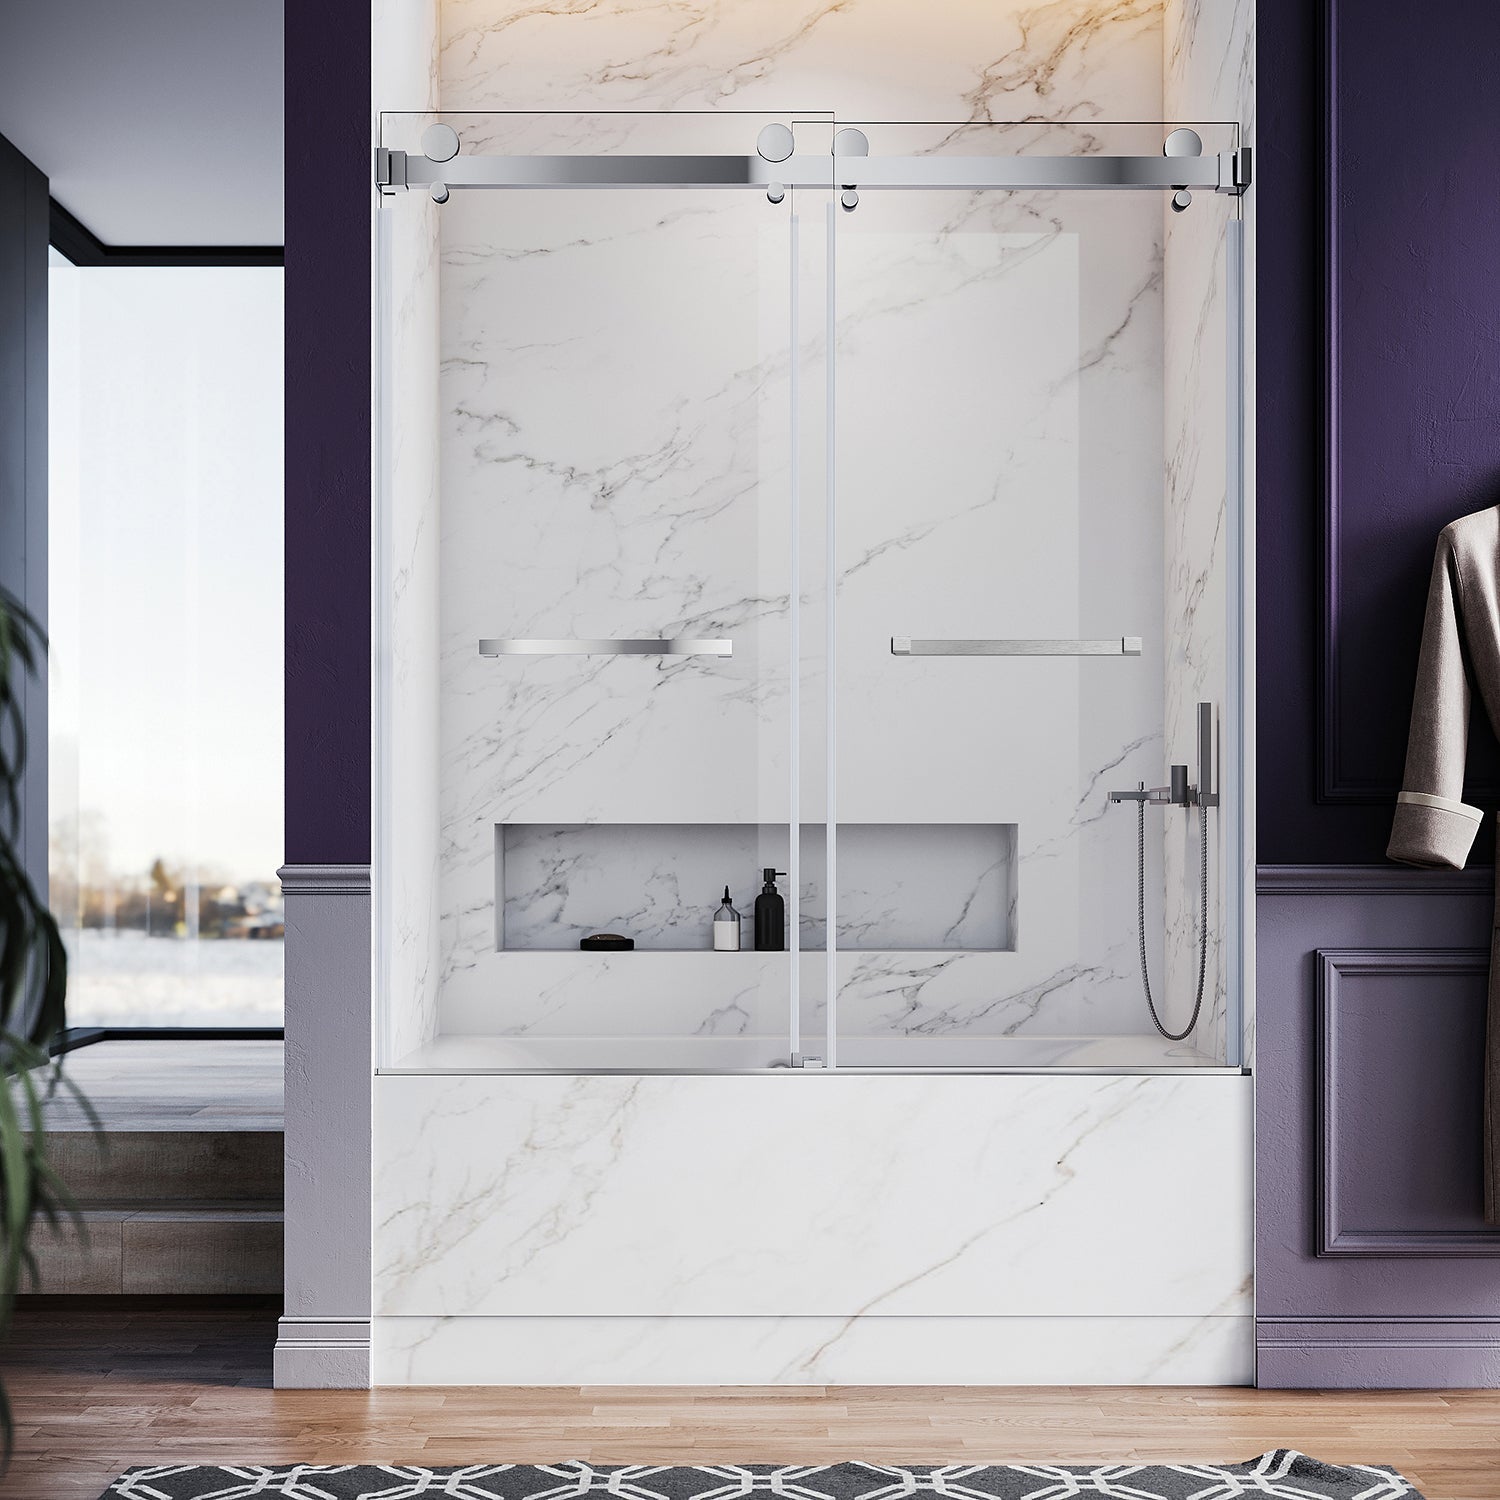
Part B: UKD01 Double Sliding Bypass Door
Opening range: 56–72 in. · Height: 72, 76, or 80 in. · Top and bottom tracks · Opens left / right / center
The UKD01 ships with tracks at maximum length for the configuration. Cut both top and bottom tracks to your exact tiled opening width — hacksaw or miter saw with fine-tooth metal blade. Measure twice. Both tracks must match your smallest measured opening width. Deburr cut ends with a file before installation.
Set the bottom track on the tub deck or shower threshold, centered in the opening. Apply a bead of silicone under the full track length before final mounting — this creates the water seal between track and tub deck. Do not apply so much silicone that it squeezes up into the track channel.
Follow the same level-line process as Part A Step 1. The UKD01 top track mounts to both wall surfaces at each end. Mark, drill, anchor, and mount. Check level before tightening fully.
Install the rear panel first — outermost position in the top track. Tilt top of panel into rear track position, lower bottom into rear bottom channel. Repeat for front panel in inner track. Both panels should slide freely and independently. Test full range on each before proceeding.
Attach handles to both panels. Install any provided anti-jump clips per manual. Apply neutral-cure silicone along both wall contact edges where track end pieces meet tile wall. 24-hour cure before water.

Completion Checklist
Four Common Problems and Fixes
Shop UKS04 barn-style sliding doors · Shop UKD01 double bypass doors · Custom dimensions — quote in 2 hours