

Most frameless shower door installations go wrong before a single drill bit touches tile. The gap that doesn't close, the panel that hangs crooked, the roller that catches at one end of the track — these problems are almost always caused by something that should have been checked during the pre-install phase, not during the install itself.
This guide covers both sliding door and swing/hinged door installations, with a pre-install checklist that catches the issues responsible for most failed DIY installs, a complete tool list, and a fault-finding section for the problems that come up after the door is hung.
Before You Start: Three Non-Negotiable Checks
Tile adds 3/8–1/2 inch per tiled wall. If you ordered before tile was done, confirm your delivered door matches the finished opening before opening the crate. Measure width at floor, mid-height, and top. Use the smallest number.
Hold a 4-foot level vertically against each wall where hardware mounts. Up to 1/8 inch off over the door height: within standard tolerance. More than 1/4 inch: shim the hardware or address the wall before proceeding. Do not skip this step.
Check the wood crate for transit damage before unsealing. If the crate shows impact damage, photograph it and note it on the delivery receipt before the driver leaves. Unbox and inspect the glass panel and hardware before starting installation.
Tools Required
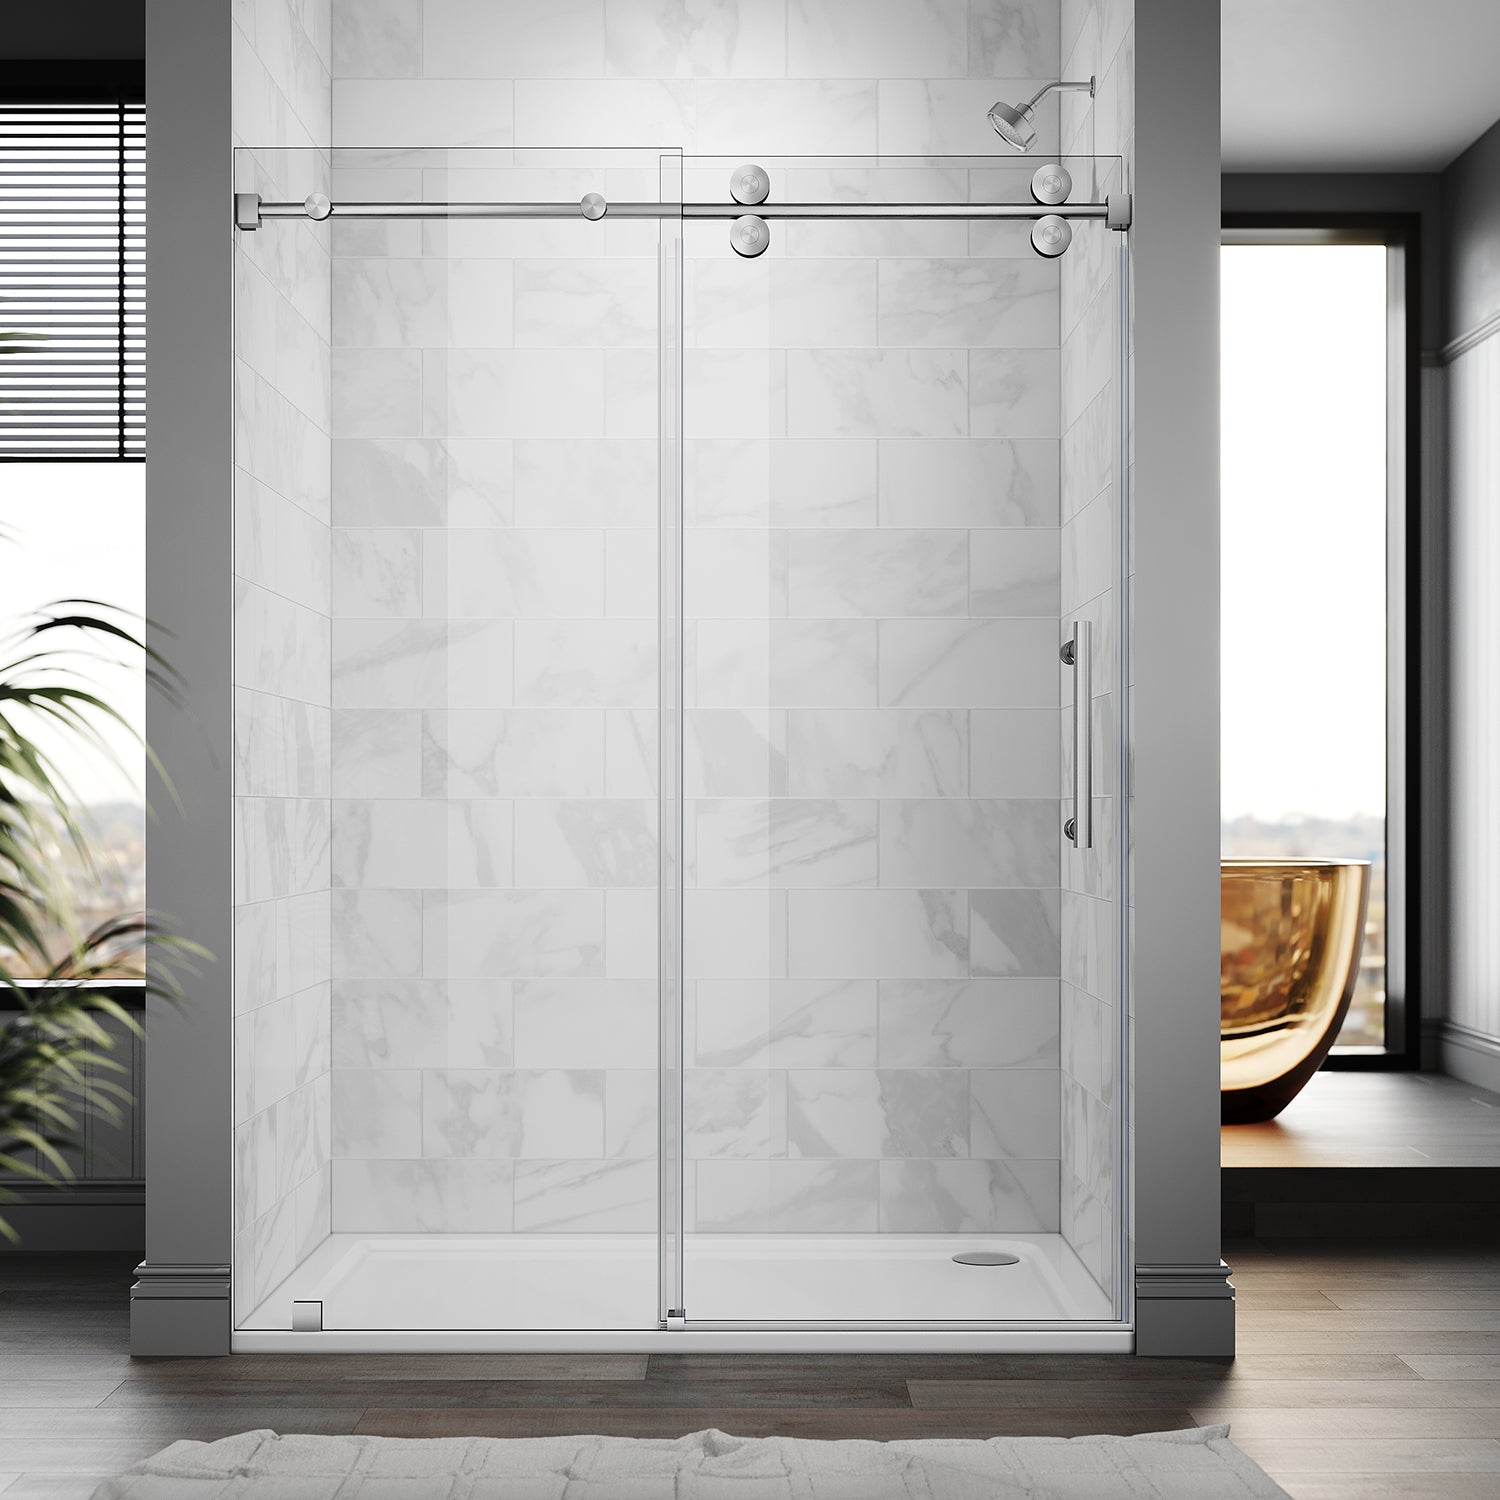
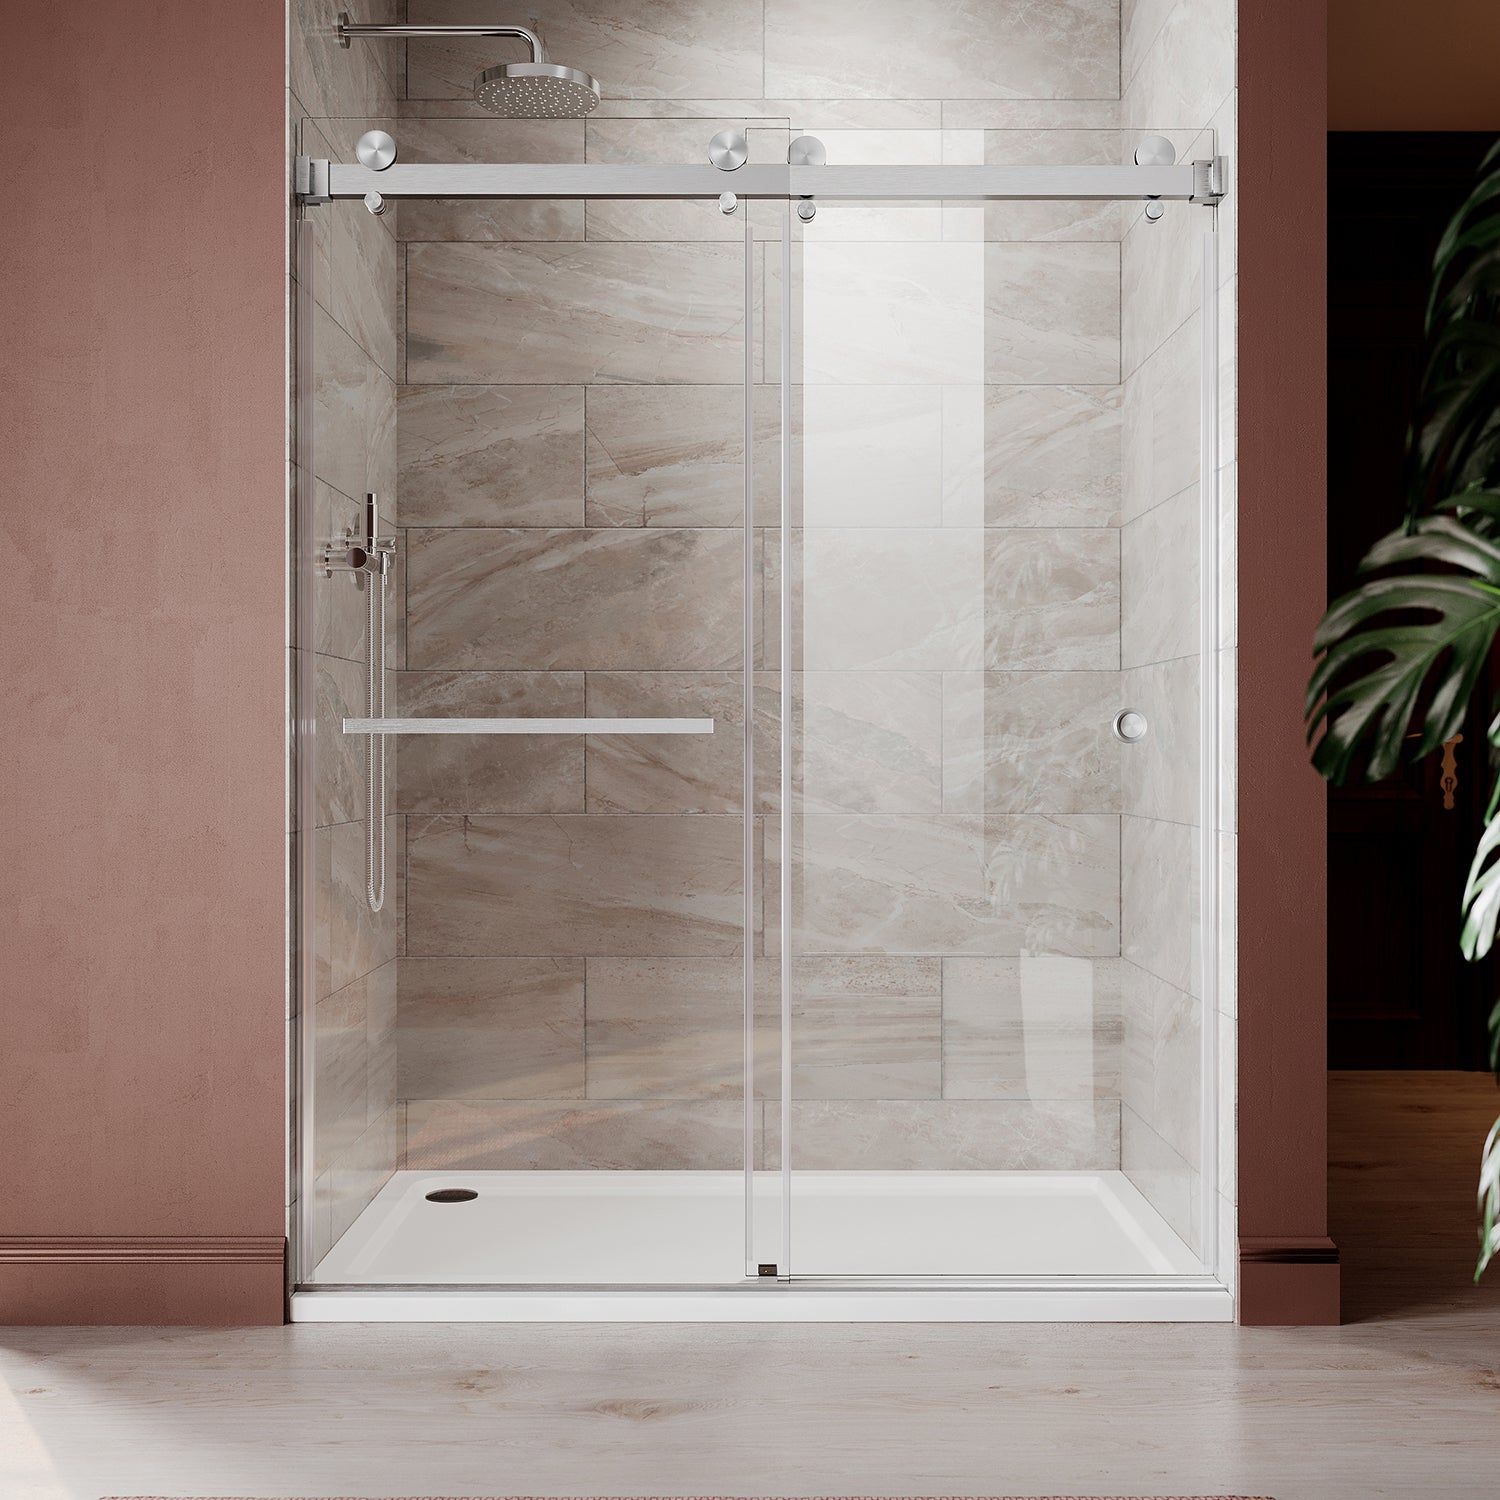
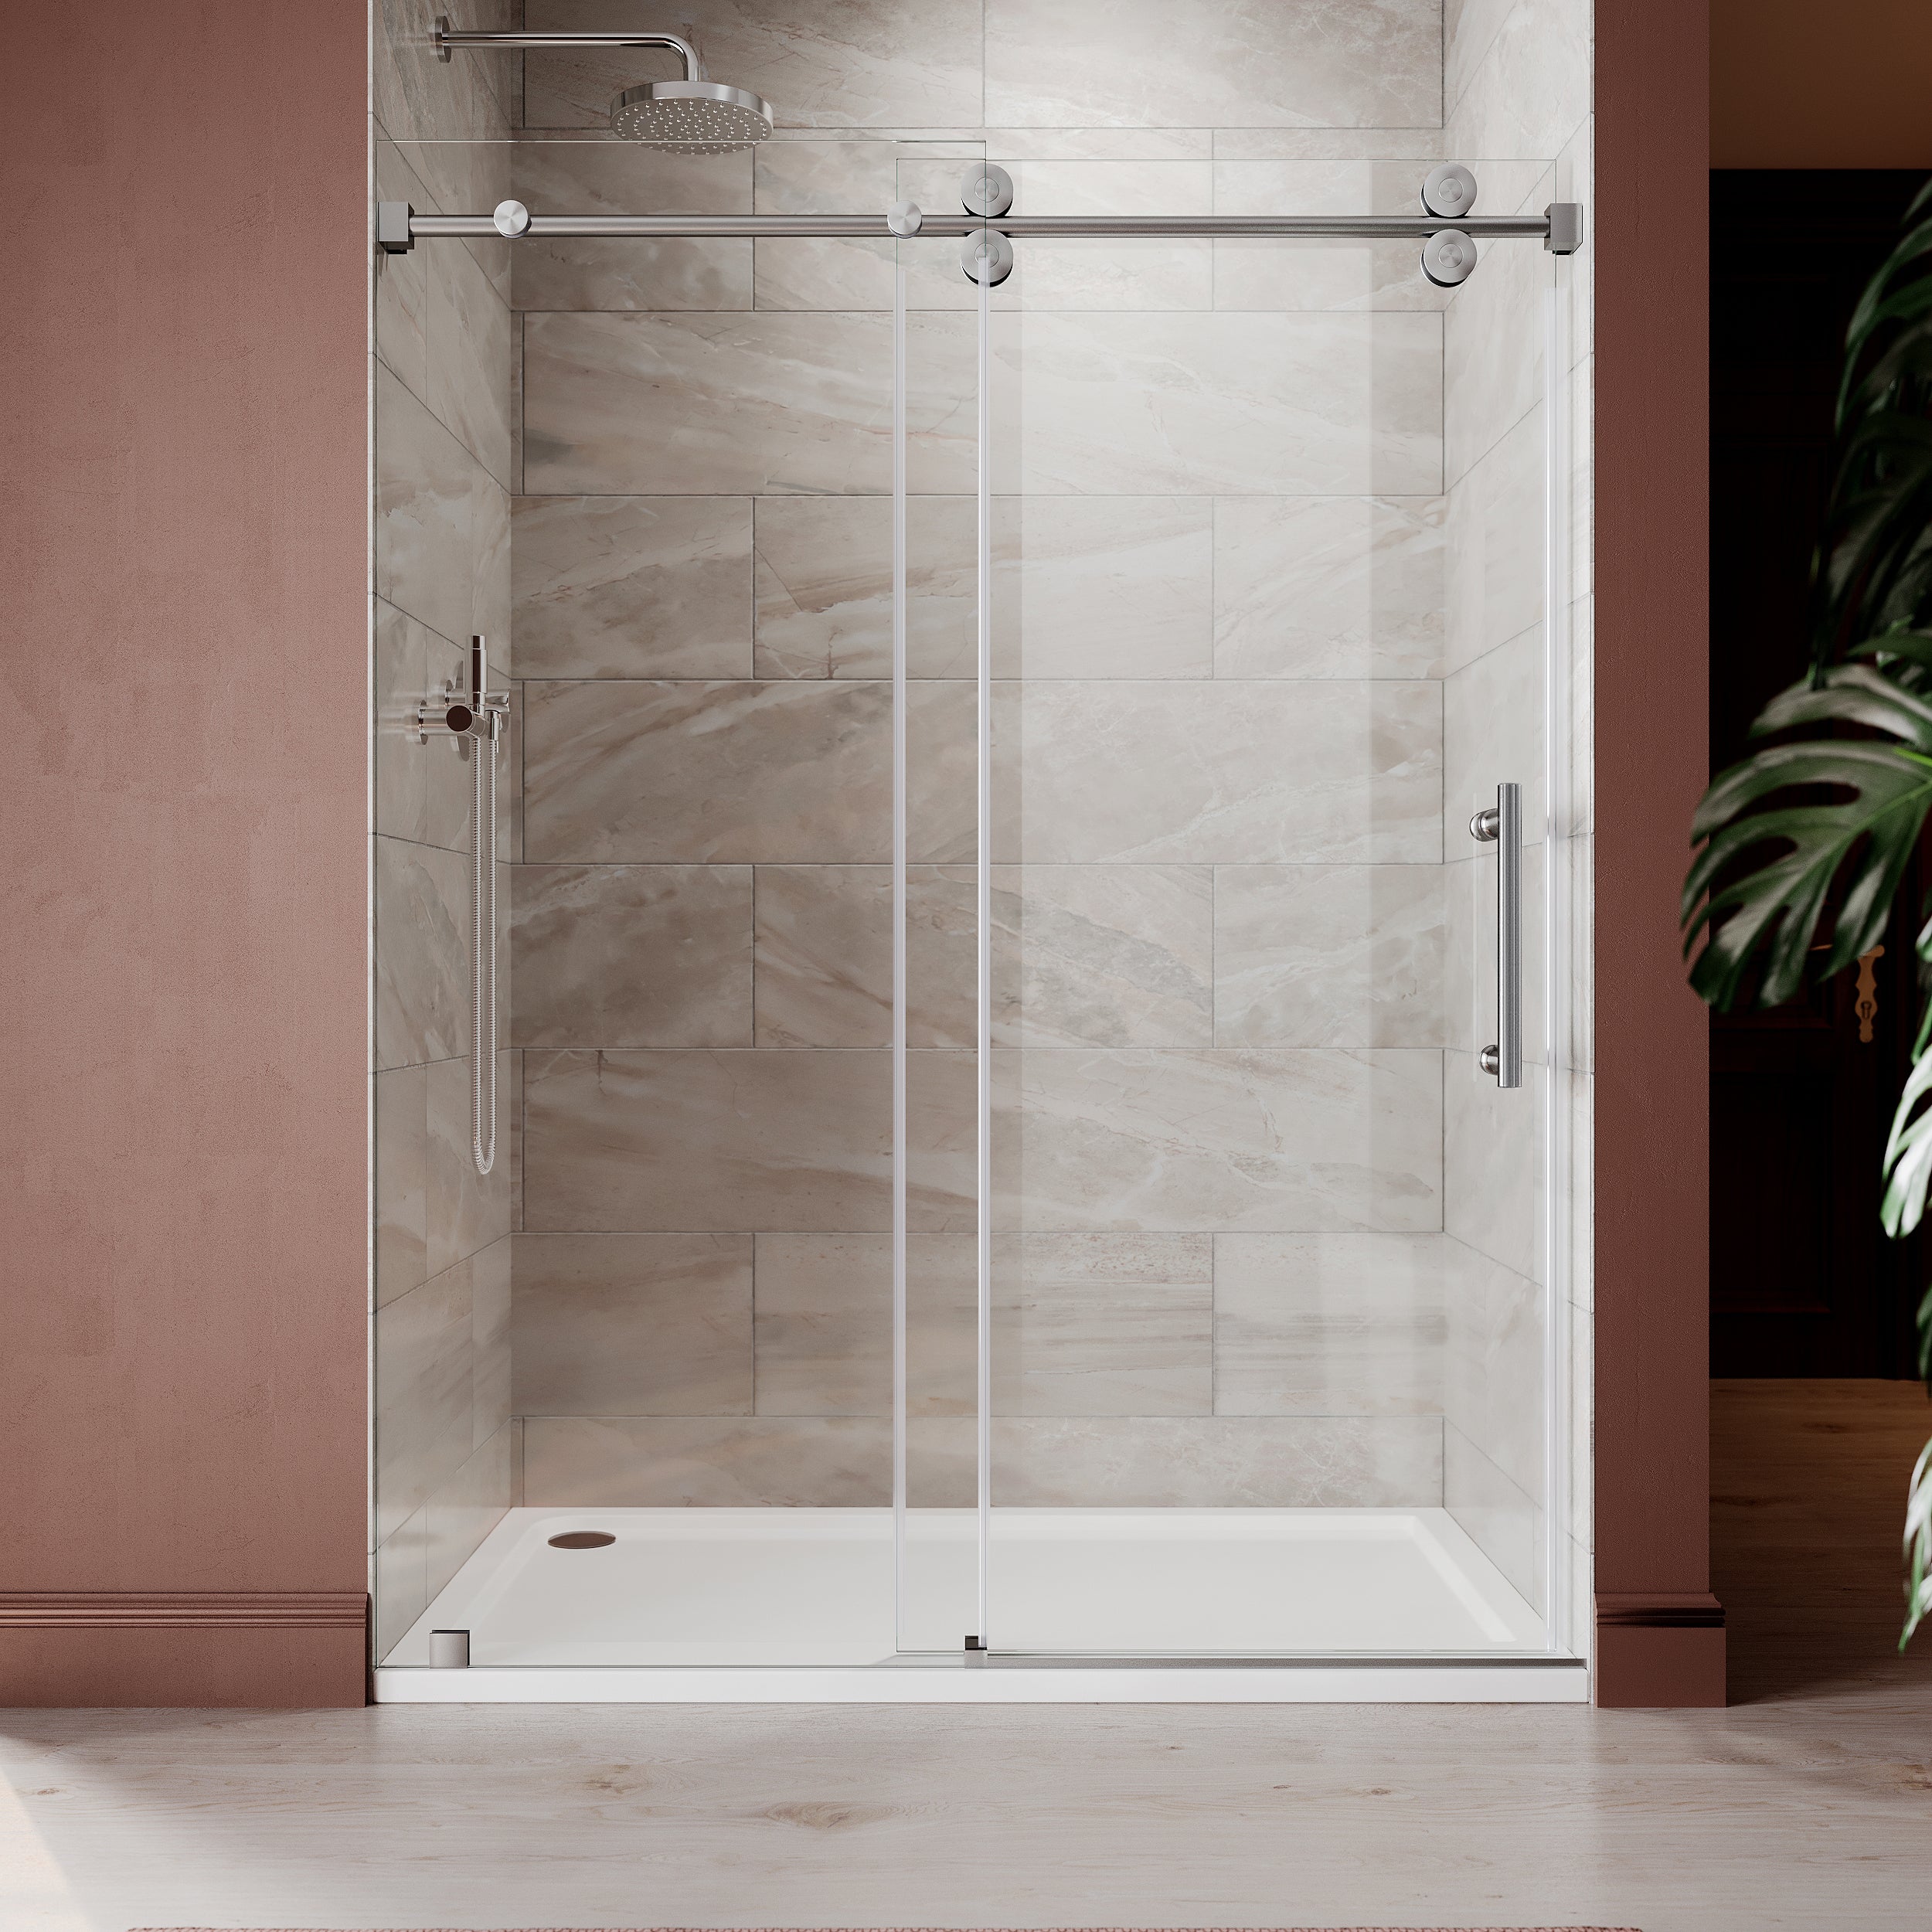
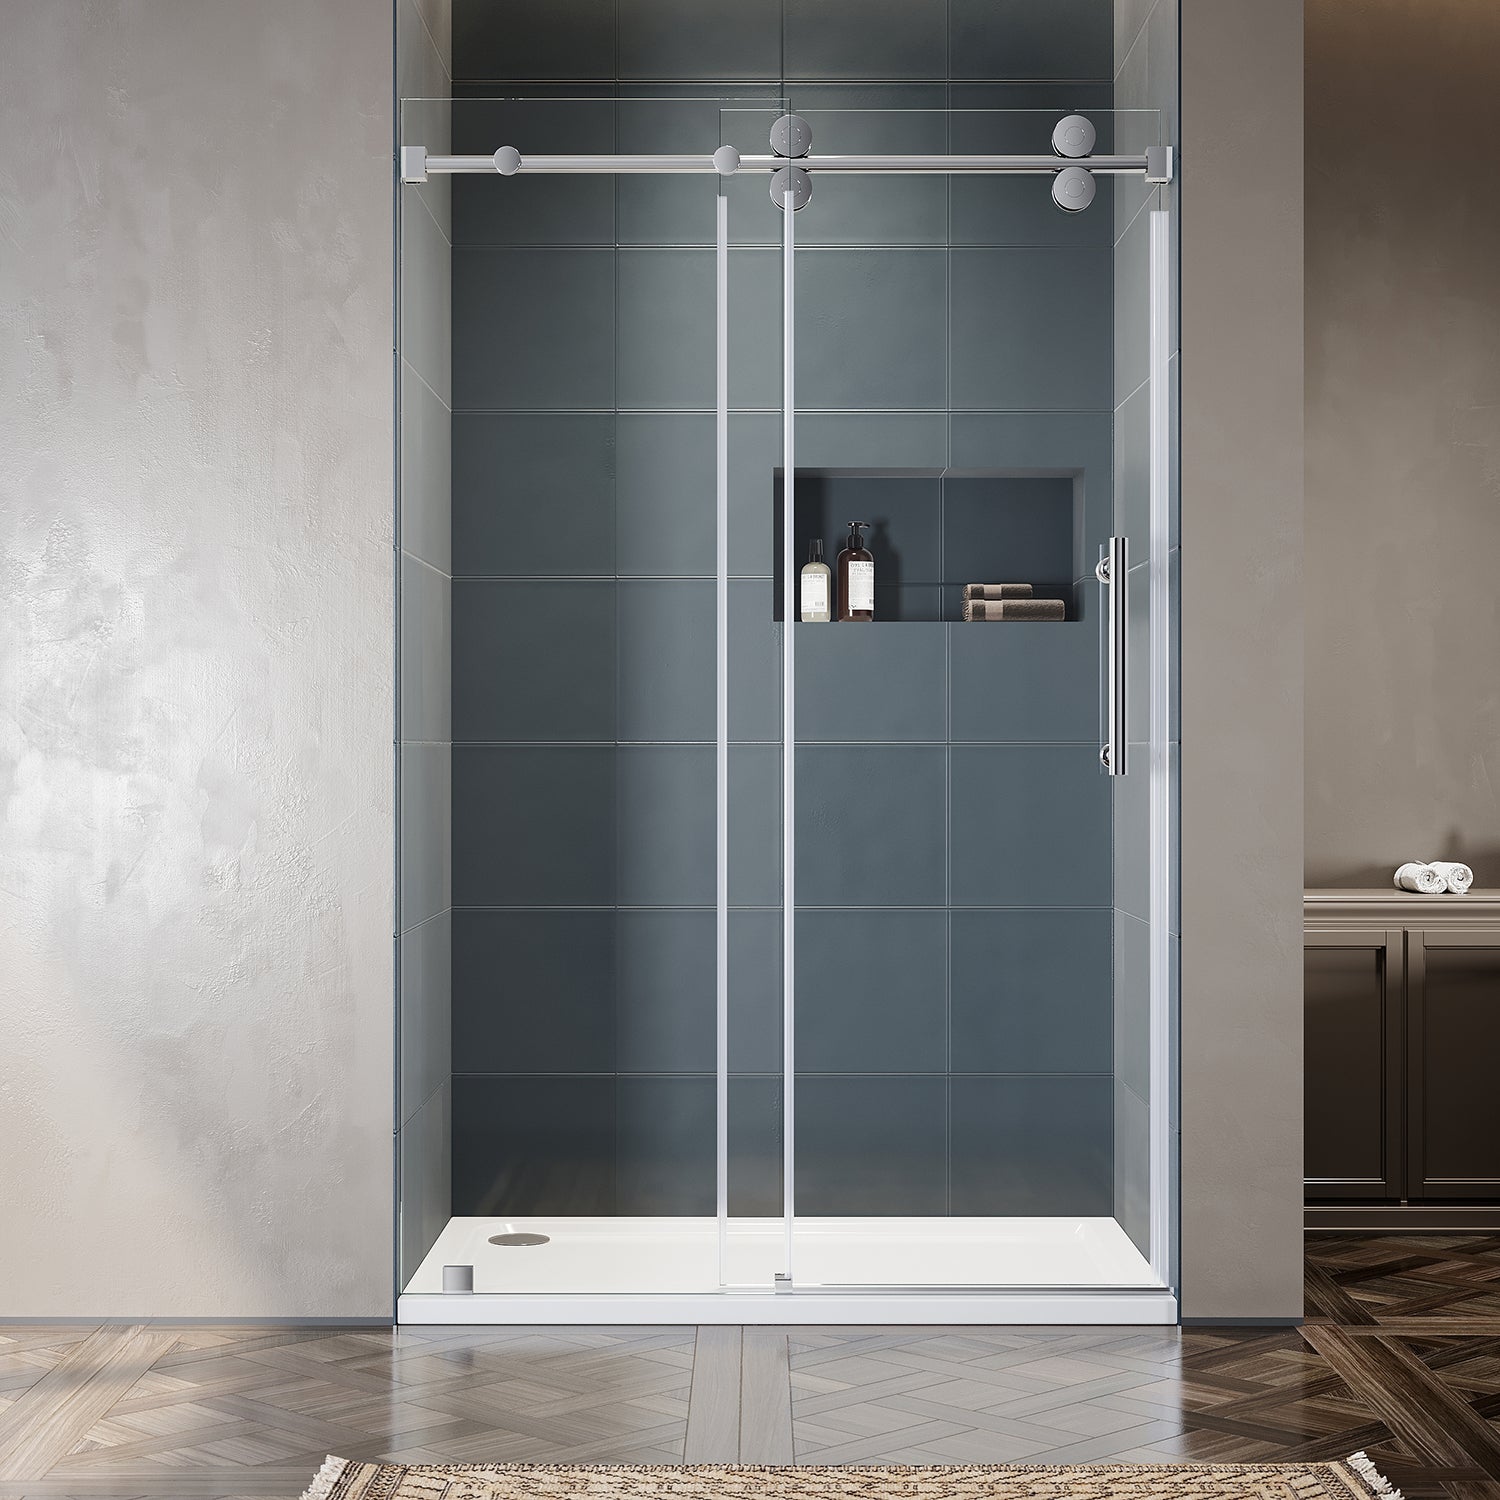
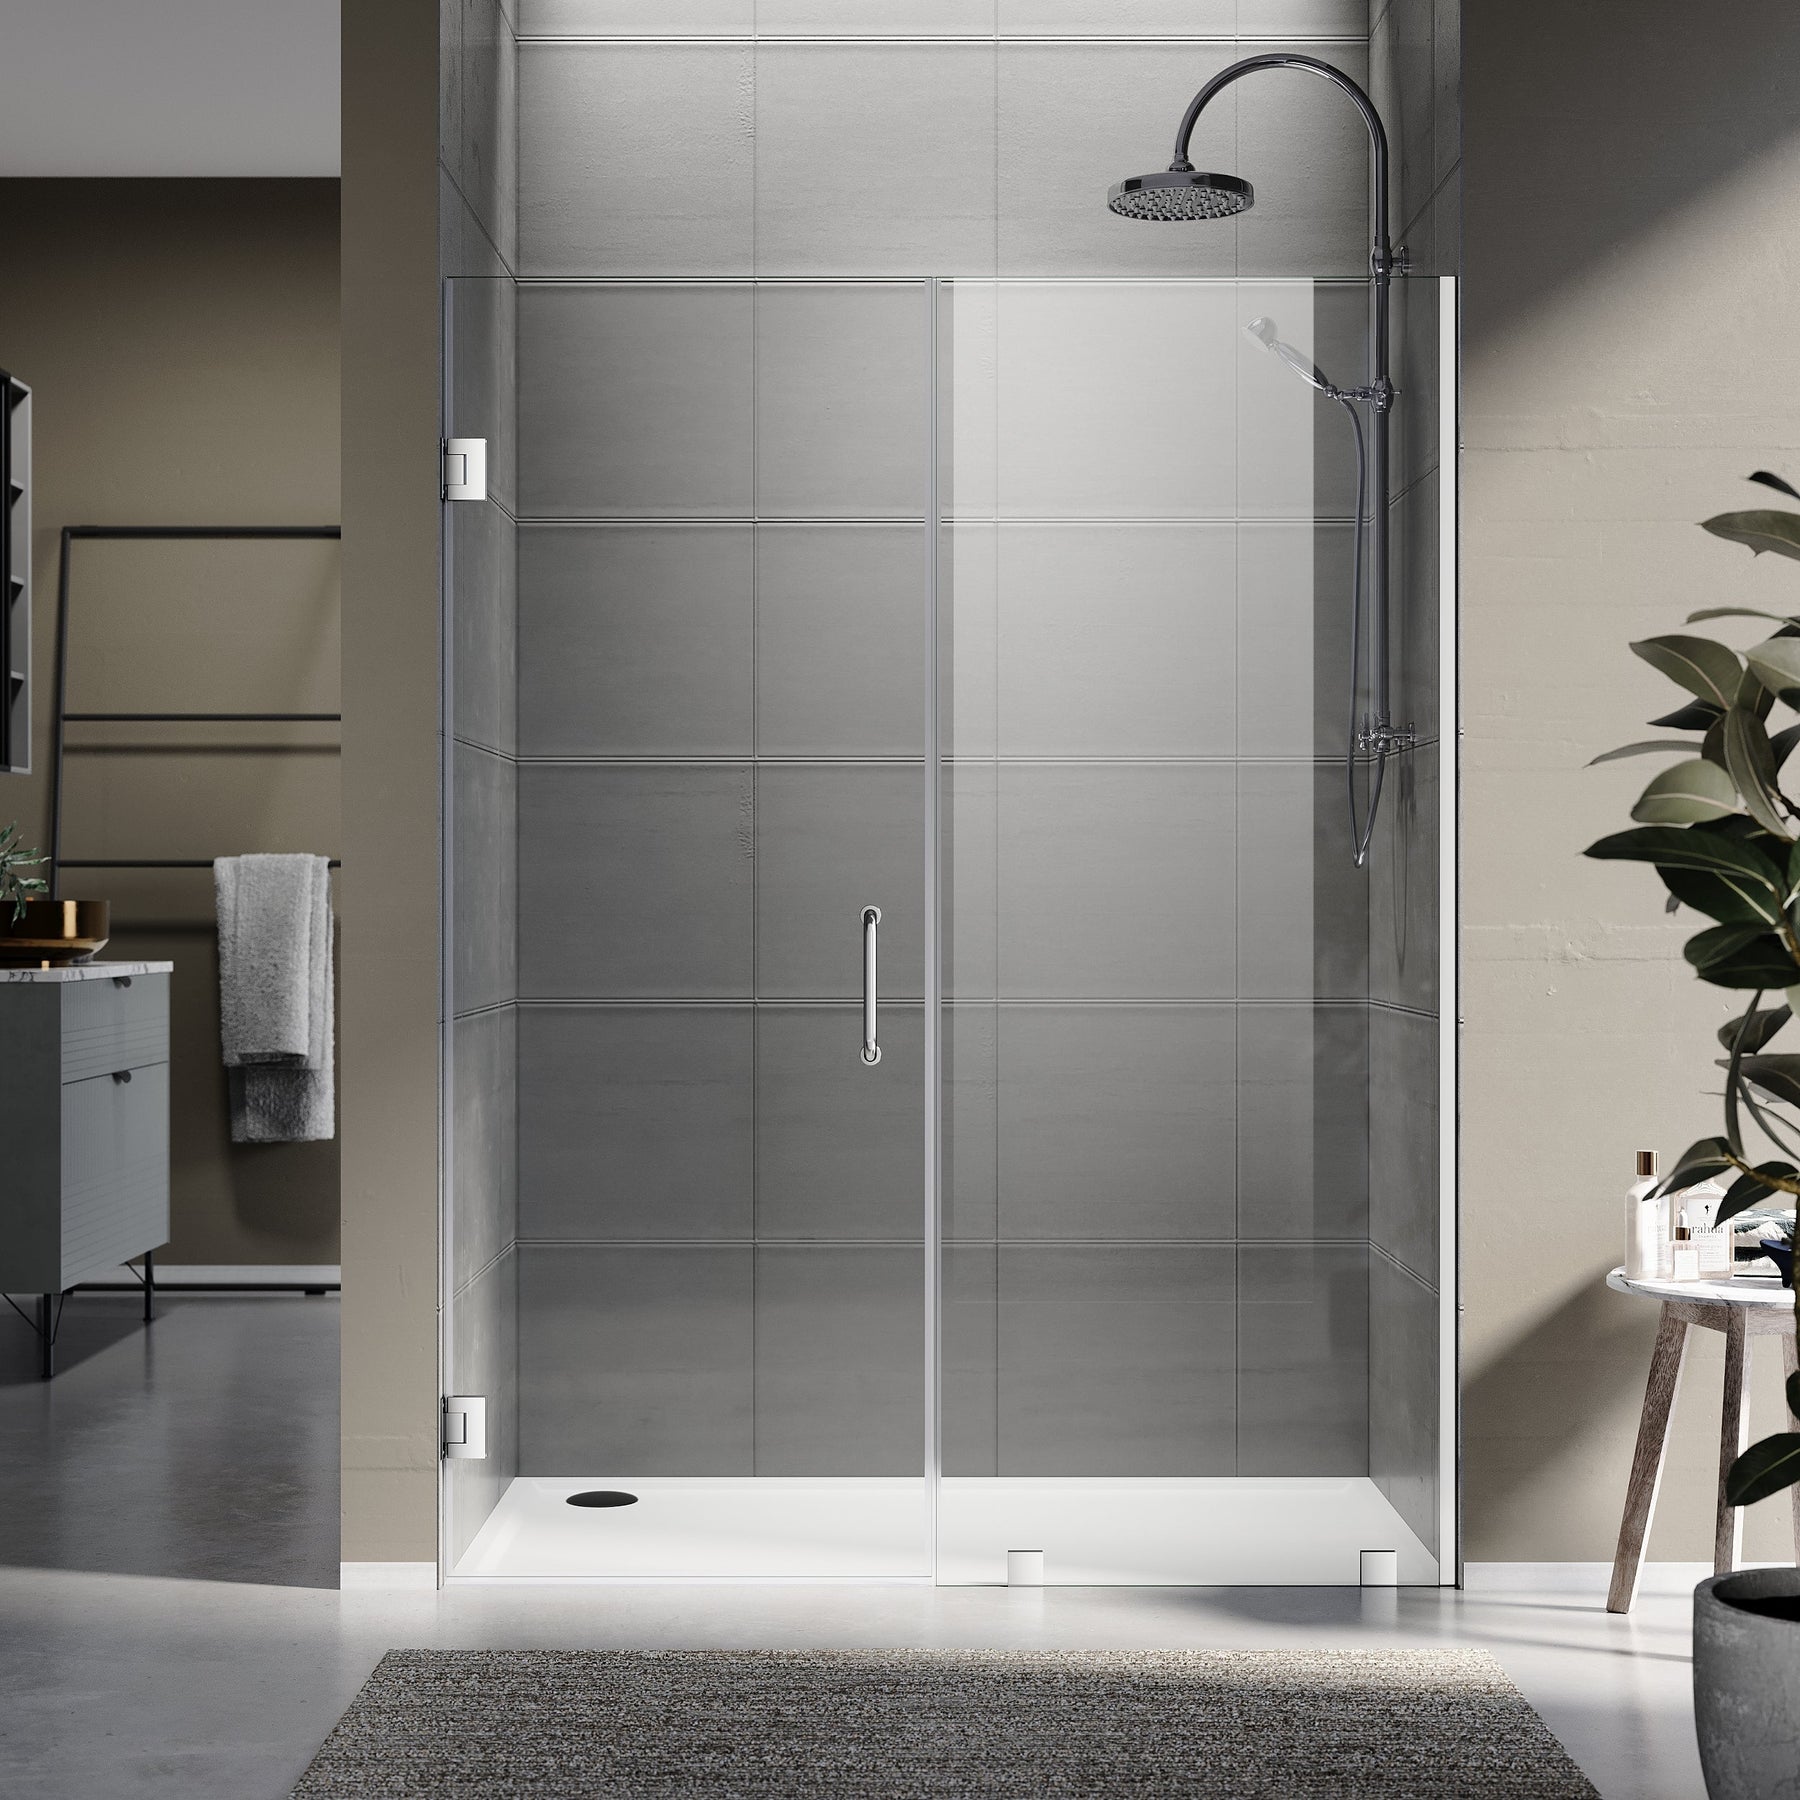
Part A: Installing a Sliding Frameless Shower Door
Applies to: UKS04 barn-style sliding, UKD01 double sliding, UKS13 framed bypass

Measure up from the shower floor (not the bathroom floor) to your door height — 76, 80, or 84 inches depending on your model. Mark this height on both walls. Use your level to draw a horizontal line connecting the two marks. This line must be level, not parallel to the floor — in most bathrooms these are not the same thing. The track hangs from this line.
Hold the track bracket against the tile at your marked line. Mark the screw hole positions with a pencil or painter's tape. Drill pilot holes with the diamond-tip bit — slow speed, steady pressure. Insert wall anchors, mount brackets, and hang the track. Check level one final time before tightening all screws fully.
Lay the glass panel flat on a protected surface. Attach the roller assemblies to the pre-drilled holes at the top edge. Hand-tighten only at this stage — final torque happens after the panel is hanging and alignment is confirmed. Do not over-tighten before hanging; it stresses the glass at the mounting hole.

One person holds the glass panel steady at the bottom. The second person guides the rollers up and into the track from below — you'll feel a definite engagement click when they seat correctly. Do not force it. If the rollers won't seat, check that the track bracket spacing matches the roller spread dimension in the installation manual.
Slide the panel to the closed position. Mark where the bottom edge of the glass contacts the wall. Mount the wall-mount stabilizer guide at that point. The guide should make light contact with the bottom glass edge — enough to prevent lateral swing without resisting the sliding motion. Check that the panel slides freely end-to-end before tightening the guide fully.
Attach interior and exterior handles per the manual. Apply a continuous bead of neutral-cure silicone sealant along both wall contact edges of the enclosure. Smooth with a wet finger. Allow full 24-hour cure before running water.
Part B: Installing a Frameless Swing / Hinged Door
Applies to: UKH07 series, UKH07RP (adjustable hinge)

Hold the hinge wall bracket against the tile surface at the specified height from the shower floor. Standard hinge positions are typically 8–10 inches from the bottom and 8–10 inches from the top of the glass panel. Use painter's tape to mark the bracket footprint on the tile. Check vertical alignment of both hinge positions with your level before drilling.
Diamond-tip bit, medium speed. The hinge carries the full weight of the glass panel — use the anchor type specified in the manual for your wall substrate (tile over cement board vs. tile over drywall requires different anchors). Install wall anchors fully before mounting any hardware.
Thread all screws in but do not tighten. Final position of the hinges needs to be confirmed once the glass panel is in place. Tightening before hanging makes micro-adjustment impossible and forces you to remove and re-drill.
Lay the glass panel flat on a padded surface. Attach the glass-side hinge clamps to the hinge edge of the panel at the specified positions. Tighten to the torque spec in the manual — under-tightened clamps allow the hinge to shift under daily use; over-tightened clamps stress the glass edge.
Two-person operation: one holds the panel vertical and stable, the second connects the glass-side hinge clamps to the wall brackets. With the panel hanging, open and close the door to check swing alignment. The door should swing freely through its full arc without binding or dropping at the latch side. Adjust hinge position before tightening fully.
Install door handle. Apply neutral-cure silicone along the hinge-wall tile contact line and the strike-side wall contact line. Apply a bead along the base of any fixed panel or return. Smooth and allow 24-hour cure before use.
Completion Checklist
Common Problems and Fixes
Shop frameless shower doors · Get sealants and installation supplies · Contact installation support