Installation Guide · Frameless Swing Doors · 2026
How to Select and Install
Swing Shower Doors for
Frameless Bathrooms
A complete guide covering preparation, 7-step installation, and expert tips for contractors and DIY homeowners — including the mistakes that turn a promising renovation into a frustrating one.
Prep Checklist
7-Step Install
UKH07 Series
Alternatives
Glass swing doors hold a unique appeal for both contractors and homeowners: clean lines, robust feel, and full opening range. A well-chosen swing shower door doesn't just add visual sophistication — it enhances everyday functionality and elevates the entire bathing experience.
Selecting the right swing door involves far more than picking glass and hinges. Glass thickness, edge finishing, hardware style, and hinge positioning all affect safety, water tightness, and daily use. This guide covers preparation, a detailed step-by-step process, and field-tested tips for both seasoned pros and first-time installers.
Before You Start: Pre-Installation Checklist
The best swing shower doors deliver style and substance only when matched to the right space, materials, and installation approach. Have everything below confirmed before unboxing any hardware.
✓
Accurate measurements
Width at 3 heights, height both sides, wall plumb — use a laser level and digital tape
✓
Frameless vs. semi-frameless decision
Frameless (UKH07) demands precise wall alignment — confirm before ordering
✓
SGCC-certified safety glass confirmed
Non-negotiable for code and safety — request documentation before purchasing
✓
Level, waterproofed shower curb
Swing doors require a stable threshold for proper sealing — verify before ordering
✓
Professional-grade tools ready
Glass suction lifter, diamond drill bits, torque-limited screwdriver minimum
✓
A second person present
Doors weigh 60–100+ lbs — two people required. Do not attempt solo without specialized lifting equipment
Pro tip: For frameless installations, check both vertical walls for plumb over the full height of the opening. Even a 1/8-inch deviation can affect glass alignment and sealing.
The 7-Step Installation Process
1
Measure the Opening and Confirm Wall Conditions
Measure width at three points (top, middle, bottom) and height on both sides. Note any out-of-plumb surfaces — these dictate glass cut and hinge selection. Always measure from finished surface to finished surface, not from drywall or backer board.
Result: Measurement sheet with precise dimensions, wall angles, and notes on any irregularities
Warning: Don't rely on the tile edge for reference — always measure finished surface to finished surface
2
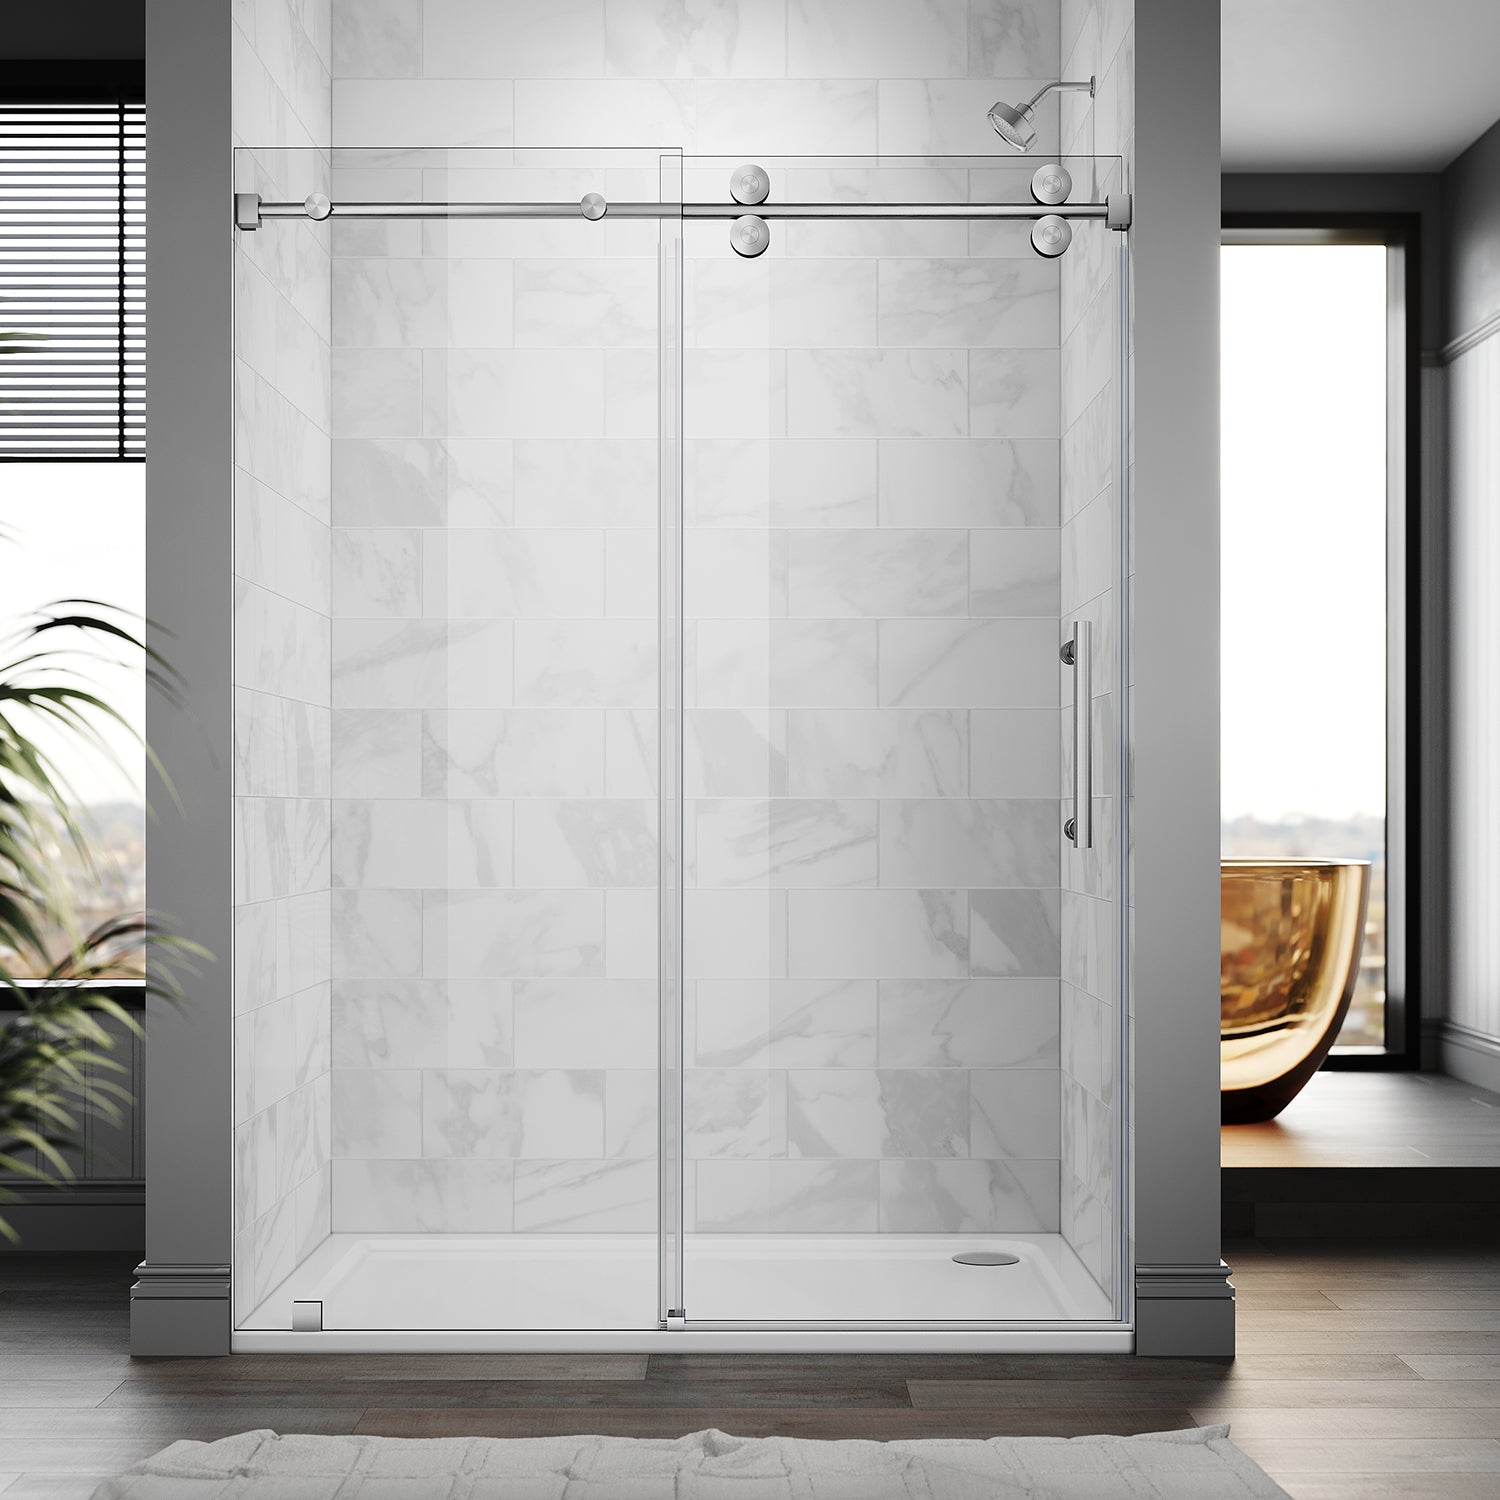
Select the Right Swing Shower Door System
For most frameless bathroom renovations, contractors prefer hardware kits that combine minimal visible metal with robust support. The UKH07 swing door series features SGCC safety glass in standard and custom sizes, plus heavy-duty brass hinges rated for repeated residential and commercial use.
Key features to verify before ordering
✓ SGCC-certified tempered glass
✓ Minimalist / low-profile pivots
✓ Finish compatibility with existing fixtures
✓ Custom sizing available
Pro tip: For contractors working on multiple units, factory-direct pricing from Unikoo significantly reduces per-door costs without compromising quality or code compliance.
3
Dry Fit the Door and Mark Hinge Locations
Before drilling, position the glass in the opening with all hardware loosely assembled. Use shims to maintain even spacing — typically 1/8 inch on sides and bottom. Mark hinge anchor points on the wall, double-checking for plumb and level.
Result: All hinge locations clearly marked; swing arc confirmed clear of towel bars, vanities, and other obstructions
Warning: Skipping dry fit is a leading cause of misdrilled anchors — compromises water sealing and may void manufacturer warranties
4
Drill Mounting Holes and Install Hardware
Use a diamond bit at low speed with cooling water to drill into tile or stone. Insert anchors rated for the wall substrate — solid blocking is strongly recommended behind tile at hinge points. Mount hinges and handles per manufacturer instructions, torquing fasteners to the specified limits.
Result: Hinges and hardware solidly fixed with no wobble or misalignment
Pro tip: Score a pilot divot on marble or delicate tile with a punch to prevent bit wandering. Always use stainless or brass hardware in wet environments
5
Hang the Glass and Adjust Alignment
With all hardware in place, lift the glass panel onto the hinges. Use leveling blocks or an assistant to hold the weight while securing set screws. Check for uniform gaps and smooth swing action; adjust before final tightening.
Result: Door operates with minimal effort, aligns evenly with the fixed panel or wall, closes flush without binding
Warning: Never force the glass into position — fine hinge and set screw adjustments are sufficient. Forcing risks breakage
6
Seal and Water-Test the Installation
Apply a continuous bead of clear silicone along the outside edge where glass meets tile. Fit sweep seals or threshold strips as specified. Allow silicone to cure fully — 24 hours minimum — before exposing to water. Test with a controlled shower run, checking all seams.
Result: Watertight installation — no splashes or runoff escaping the enclosure
Pro tip: Use painter's tape for crisp silicone edges. Remove tape before the sealant skins over
7
Final Inspection and Cleaning
Wipe all glass and metal with a non-abrasive cleaner. Check hinge action, handle tightness, and the door's ability to stay closed or open as designed. Confirm all gaps are even and no exposed sharp corners are present.
Result: Professional-grade installation ready for years of reliable service
Warning: Never use ammonia-based cleaners on safety glass or finished metal — dulls surfaces and shortens hardware lifespan
Alternatives for Tight or Minimalist Spaces
Frameless Sliding
UKS04 · UKS13
Precision rollers, no swing clearance needed. Ideal for urban condos where vanities or toilets limit door arc.
Fixed Glass Panel
Walk-in style · no moving parts
Truly minimalist — fastest to clean, zero hardware to maintain. Requires careful planning to contain water.
Bi-fold / Pivot
Ultra-compact spaces
Folds inward — no outward swing required. Less common at the luxury tier, but viable where no other configuration fits.
For many frameless renovations, combining a fixed panel with a swing door yields both easy entry and effective water control — especially in larger showers or open wet-room layouts.
Key Takeaways
1
Precise measurements and plumb walls are critical — frameless doors have almost no margin for error. Measure after tile is installed, not before.
2
Always choose SGCC-certified safety glass — request documentation before purchasing, not after.
3
Dry fitting and careful marking prevent costly misdrilled anchors — never go straight to drilling from measurements alone.
4
24-hour silicone cure is non-negotiable. The bead that looks dry isn't — running water before full cure washes uncured sealant out from inside the joint.
5
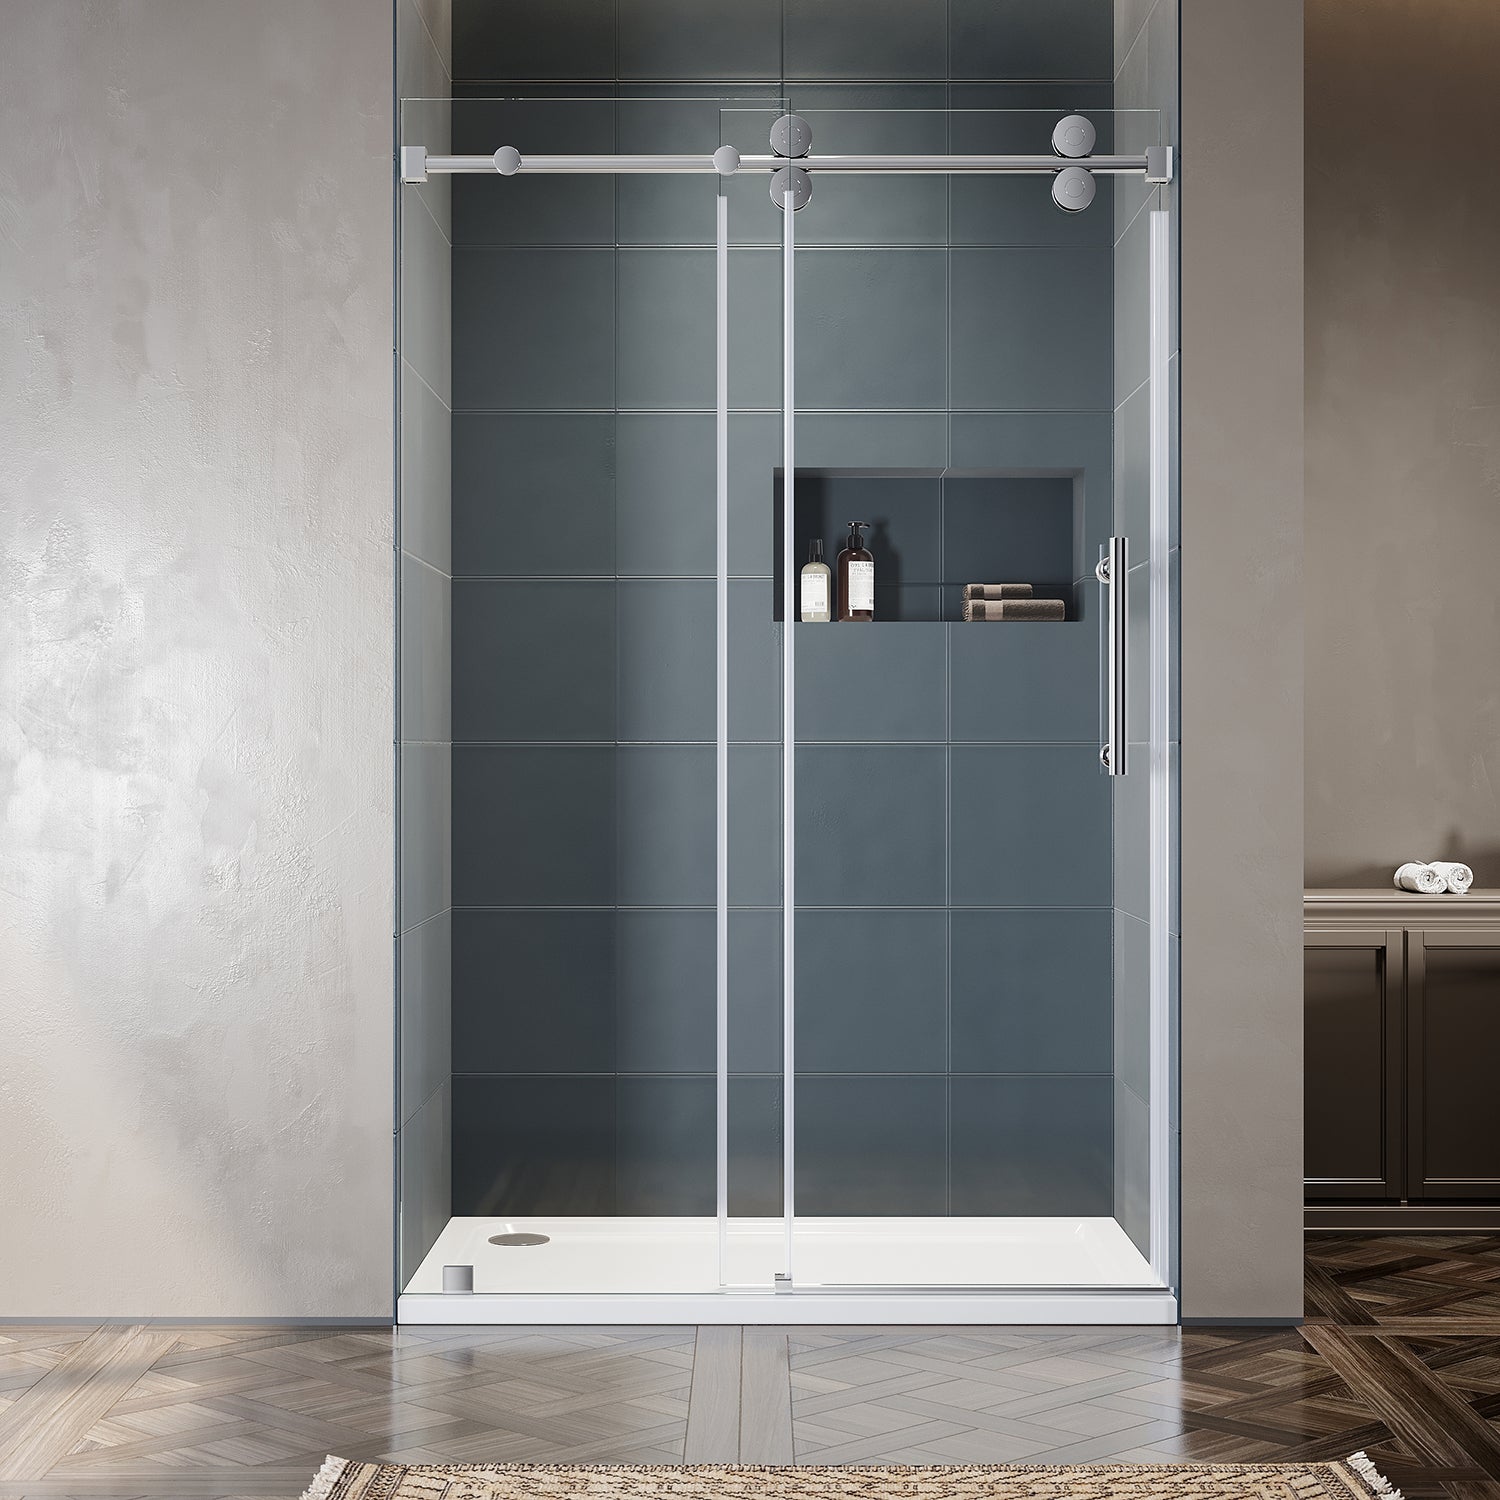
Unikoo UKH07 combines safety, style, and straightforward installation — adjustable hinges, SGCC glass, factory-direct pricing, and free shipping on select series.
Ready to install? Start with the UKH07.
10mm SGCC glass · Adjustable hinges up to 1/2 in. · 3 finishes · Lifetime warranty · Free shipping on select series
UKH07 frameless swing doors · All frameless shower doors · Contractor wholesale pricing