

Most shower door replacements fail before a single screw goes in. Not because the installation is difficult — but because something that should have been confirmed beforehand wasn't. A tile that isn't flush. A wall that's out of plumb by a quarter inch. An opening that measures differently at the top than the bottom.
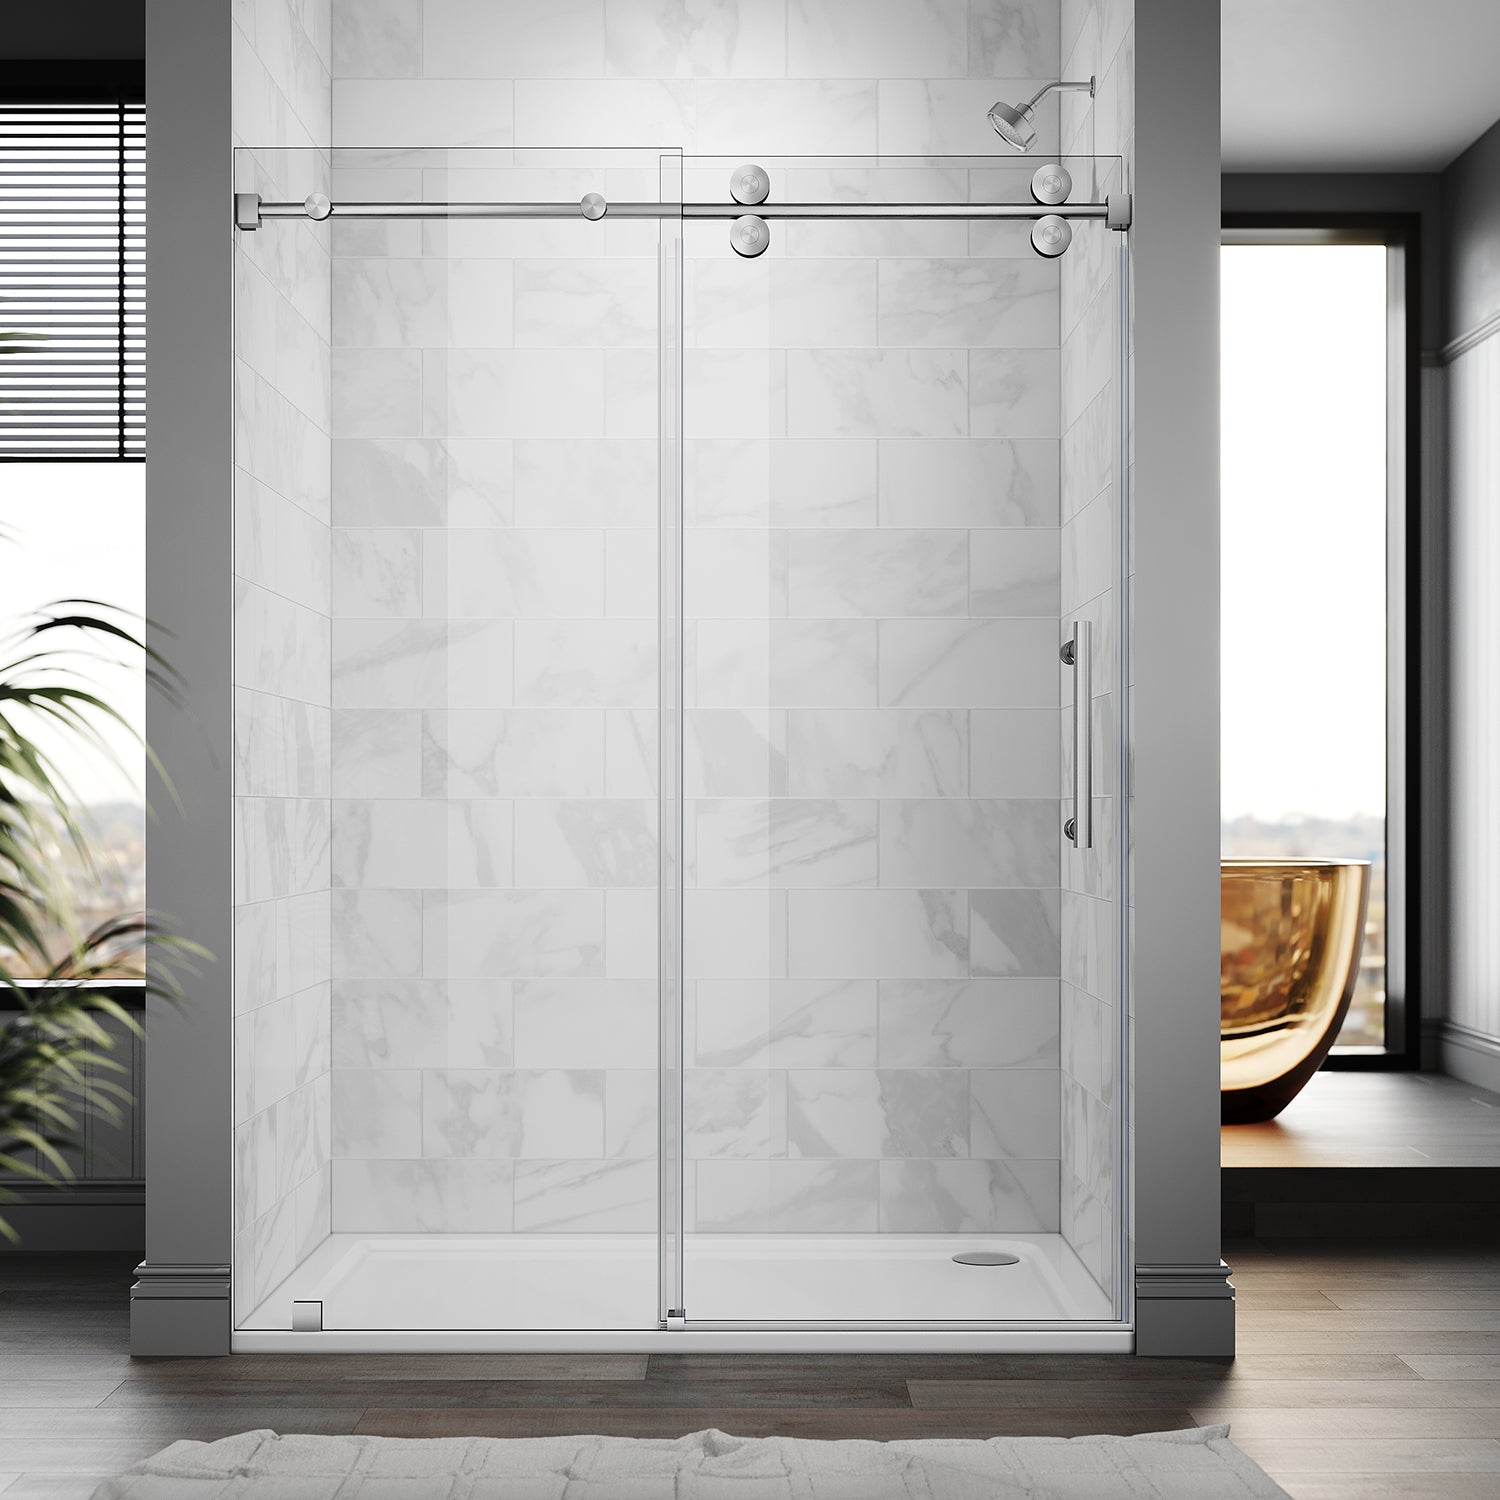
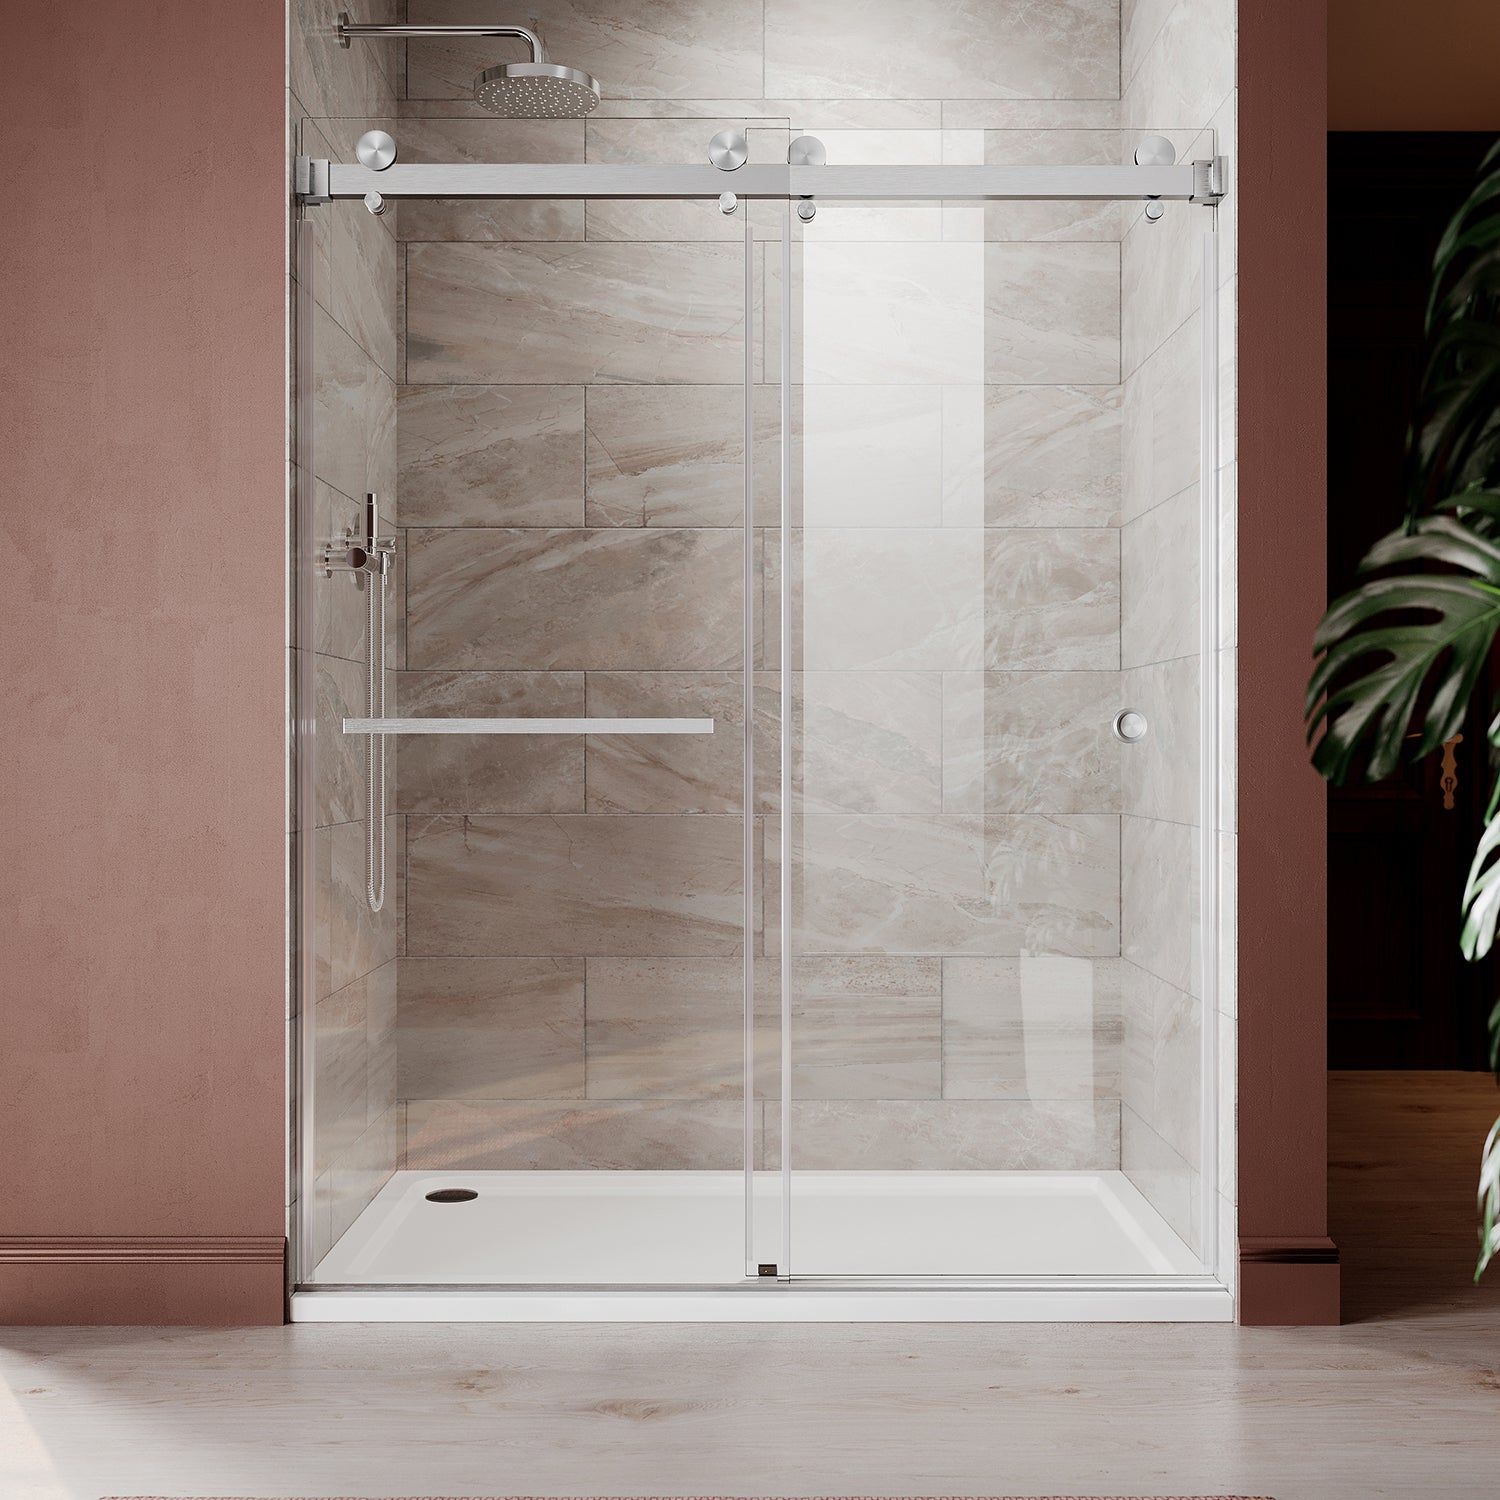
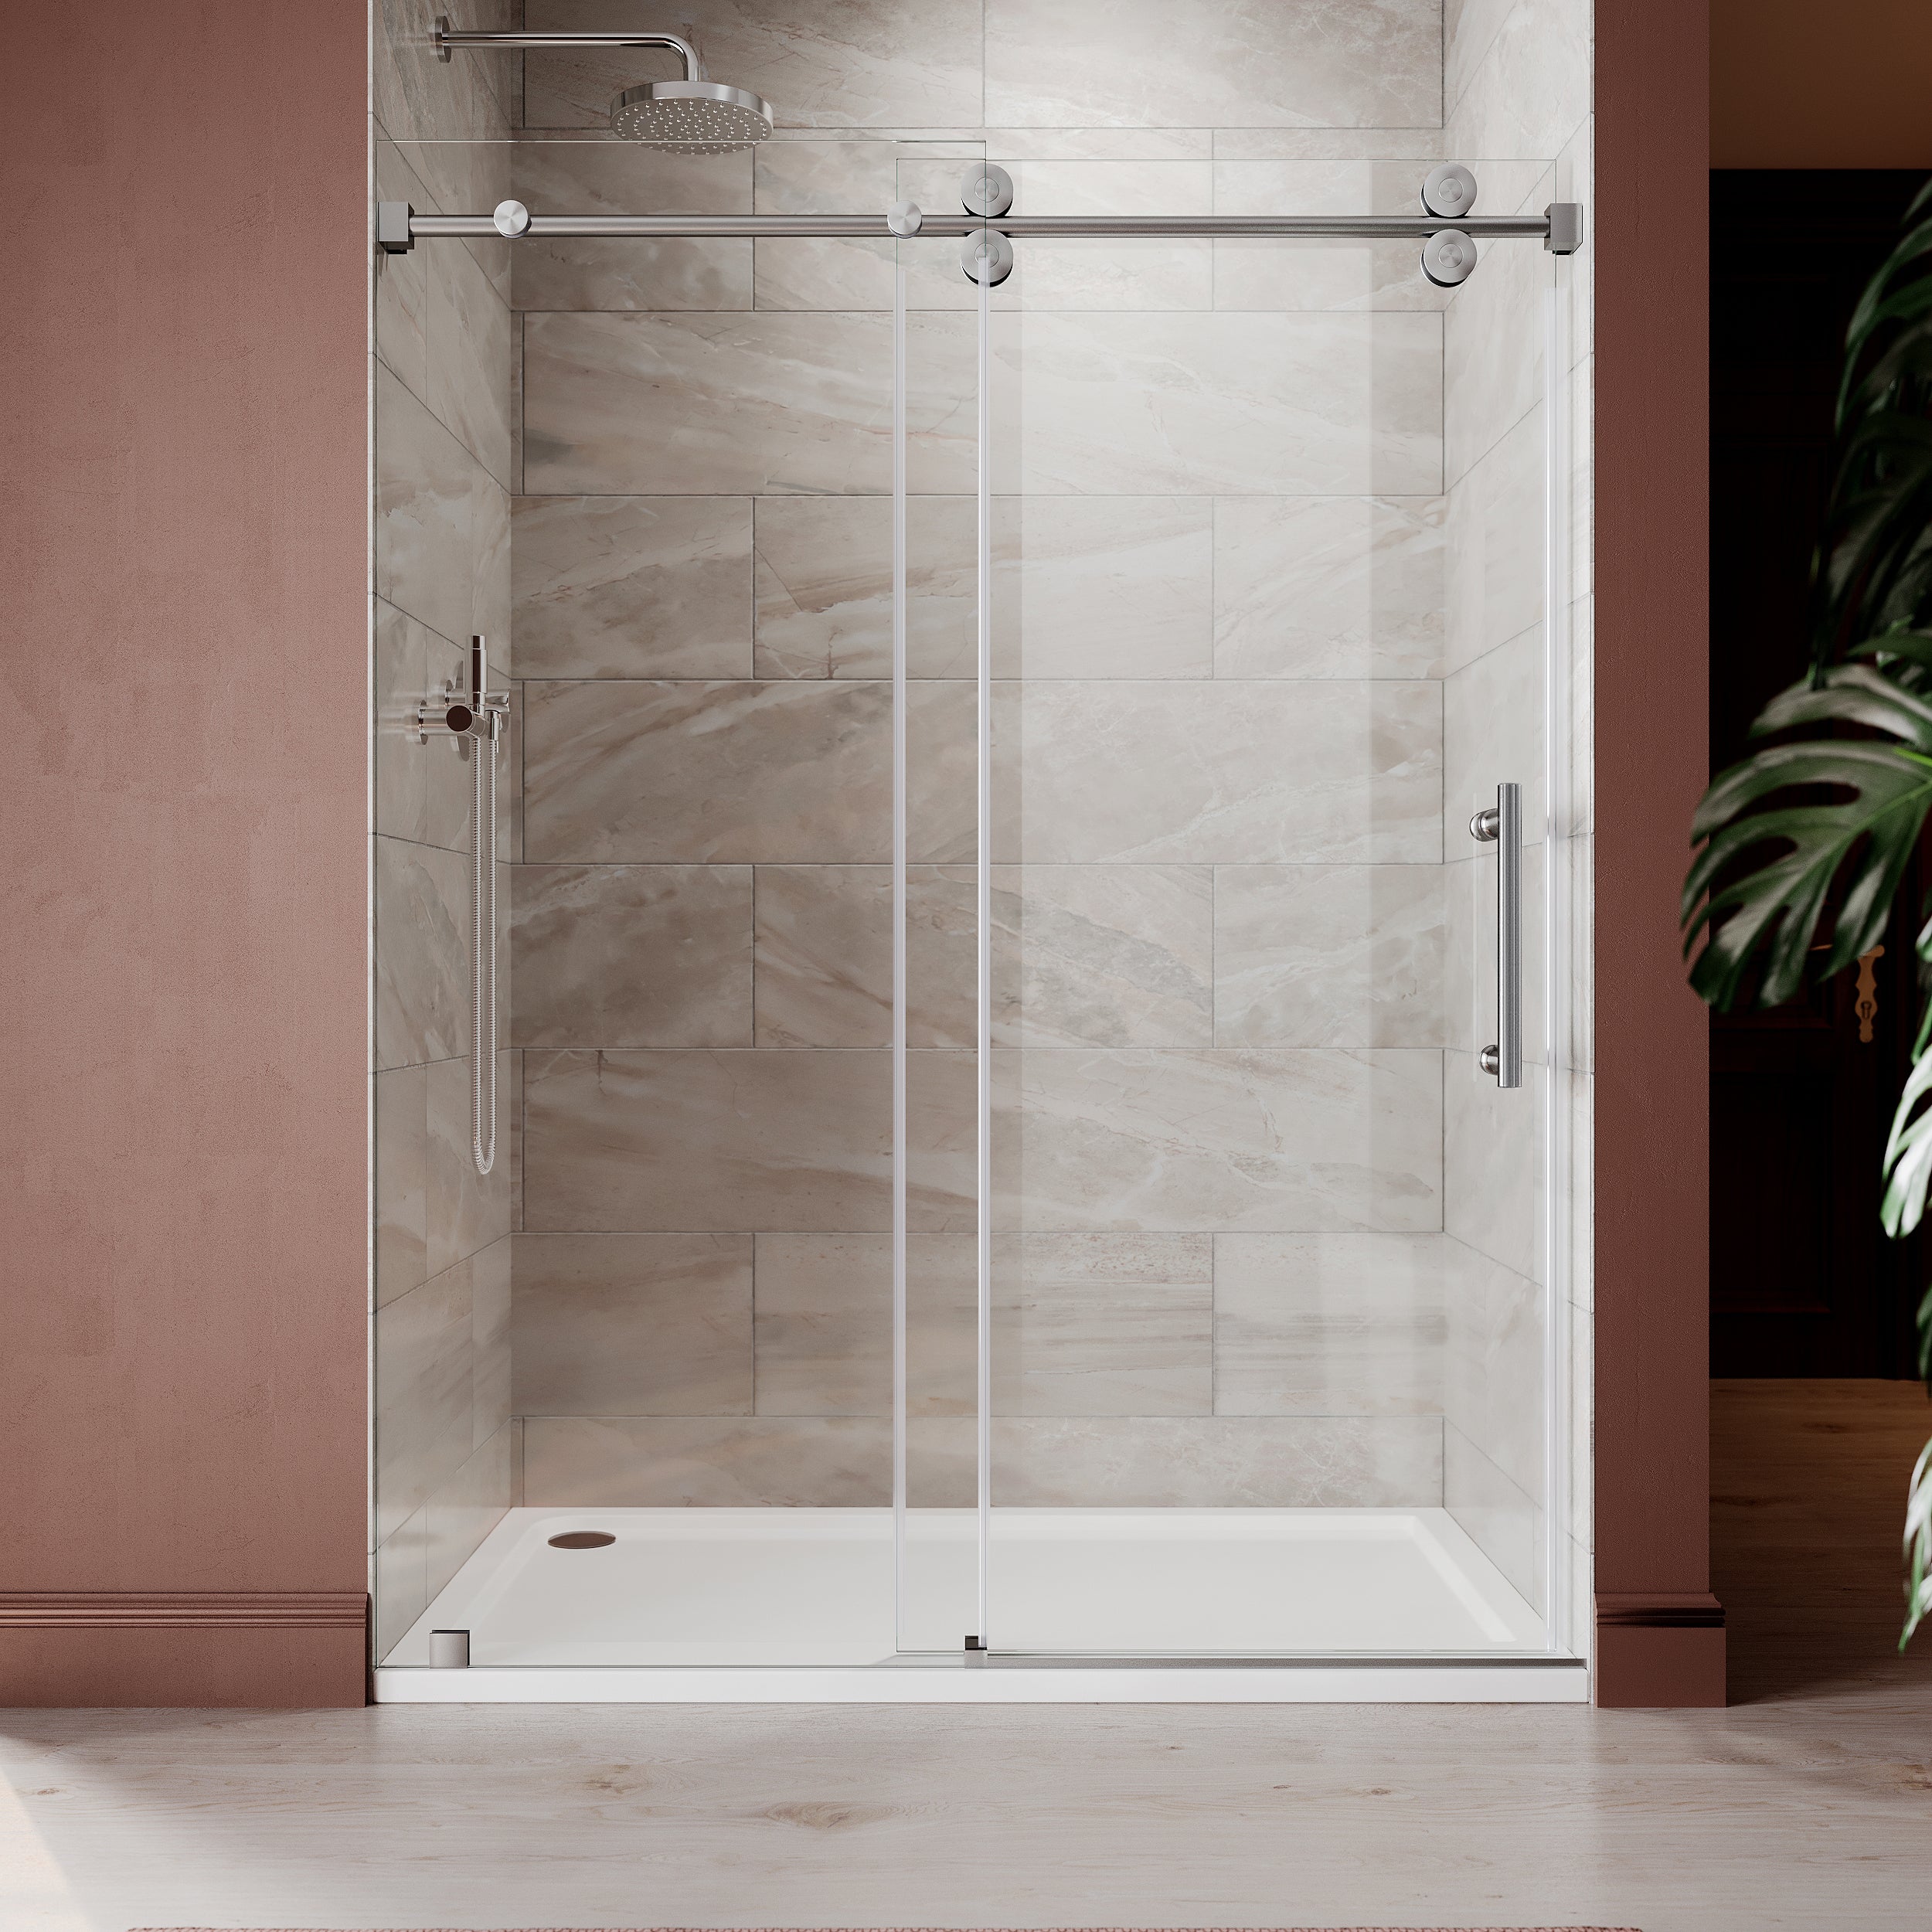
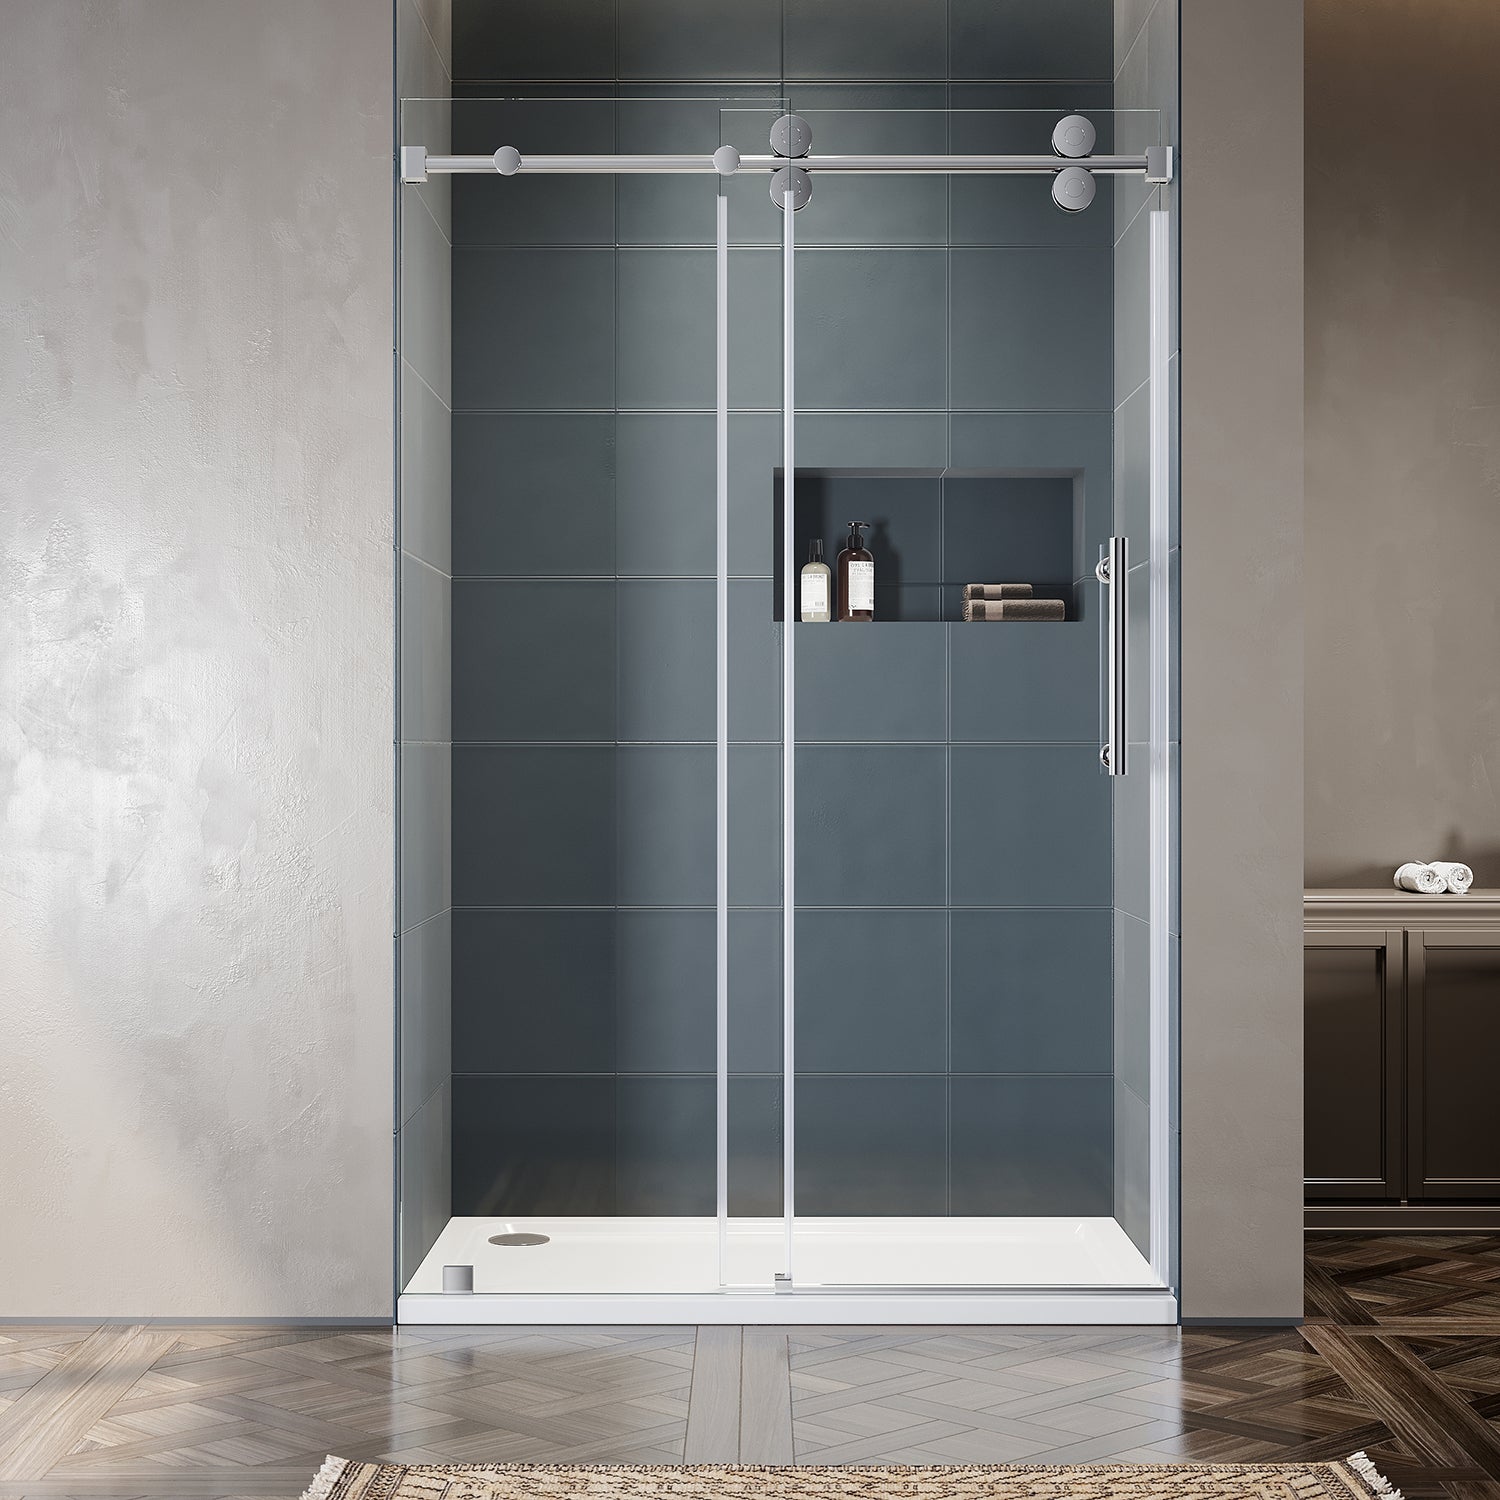
The UK-F frameless square enclosure is designed for straightforward DIY installation. The sliding panel system eliminates the swing clearance problem entirely, the top-mount track anchors to a single wall header, and the full hardware kit ships with every component you need. A competent DIYer can complete the install in a Saturday — if the three pre-install checks come back clean.
Before You Start: Three Checks That Decide Your Weekend
Width at floor, mid-height, and top. Use the smallest number. A variance of more than 1/2 inch signals a wall problem to address first.
Hold a 4-foot level vertically against each wall. Up to 1/8 inch off is within hardware tolerance. More than 1/4 inch needs shimming before install.
Always measure and order after tile is done. Tile adds 3/8–1/2 inch per wall. Ordering to bare drywall dimensions is the most common sizing mistake.
All three checks pass? You're ready to order and install. One fails? Fix it first — the installation will go faster and the result will last longer.
Tools You Need (Nothing Specialized)
No tile saw, no wet tools, no specialty glass hardware. Everything ships with the UK-F kit.
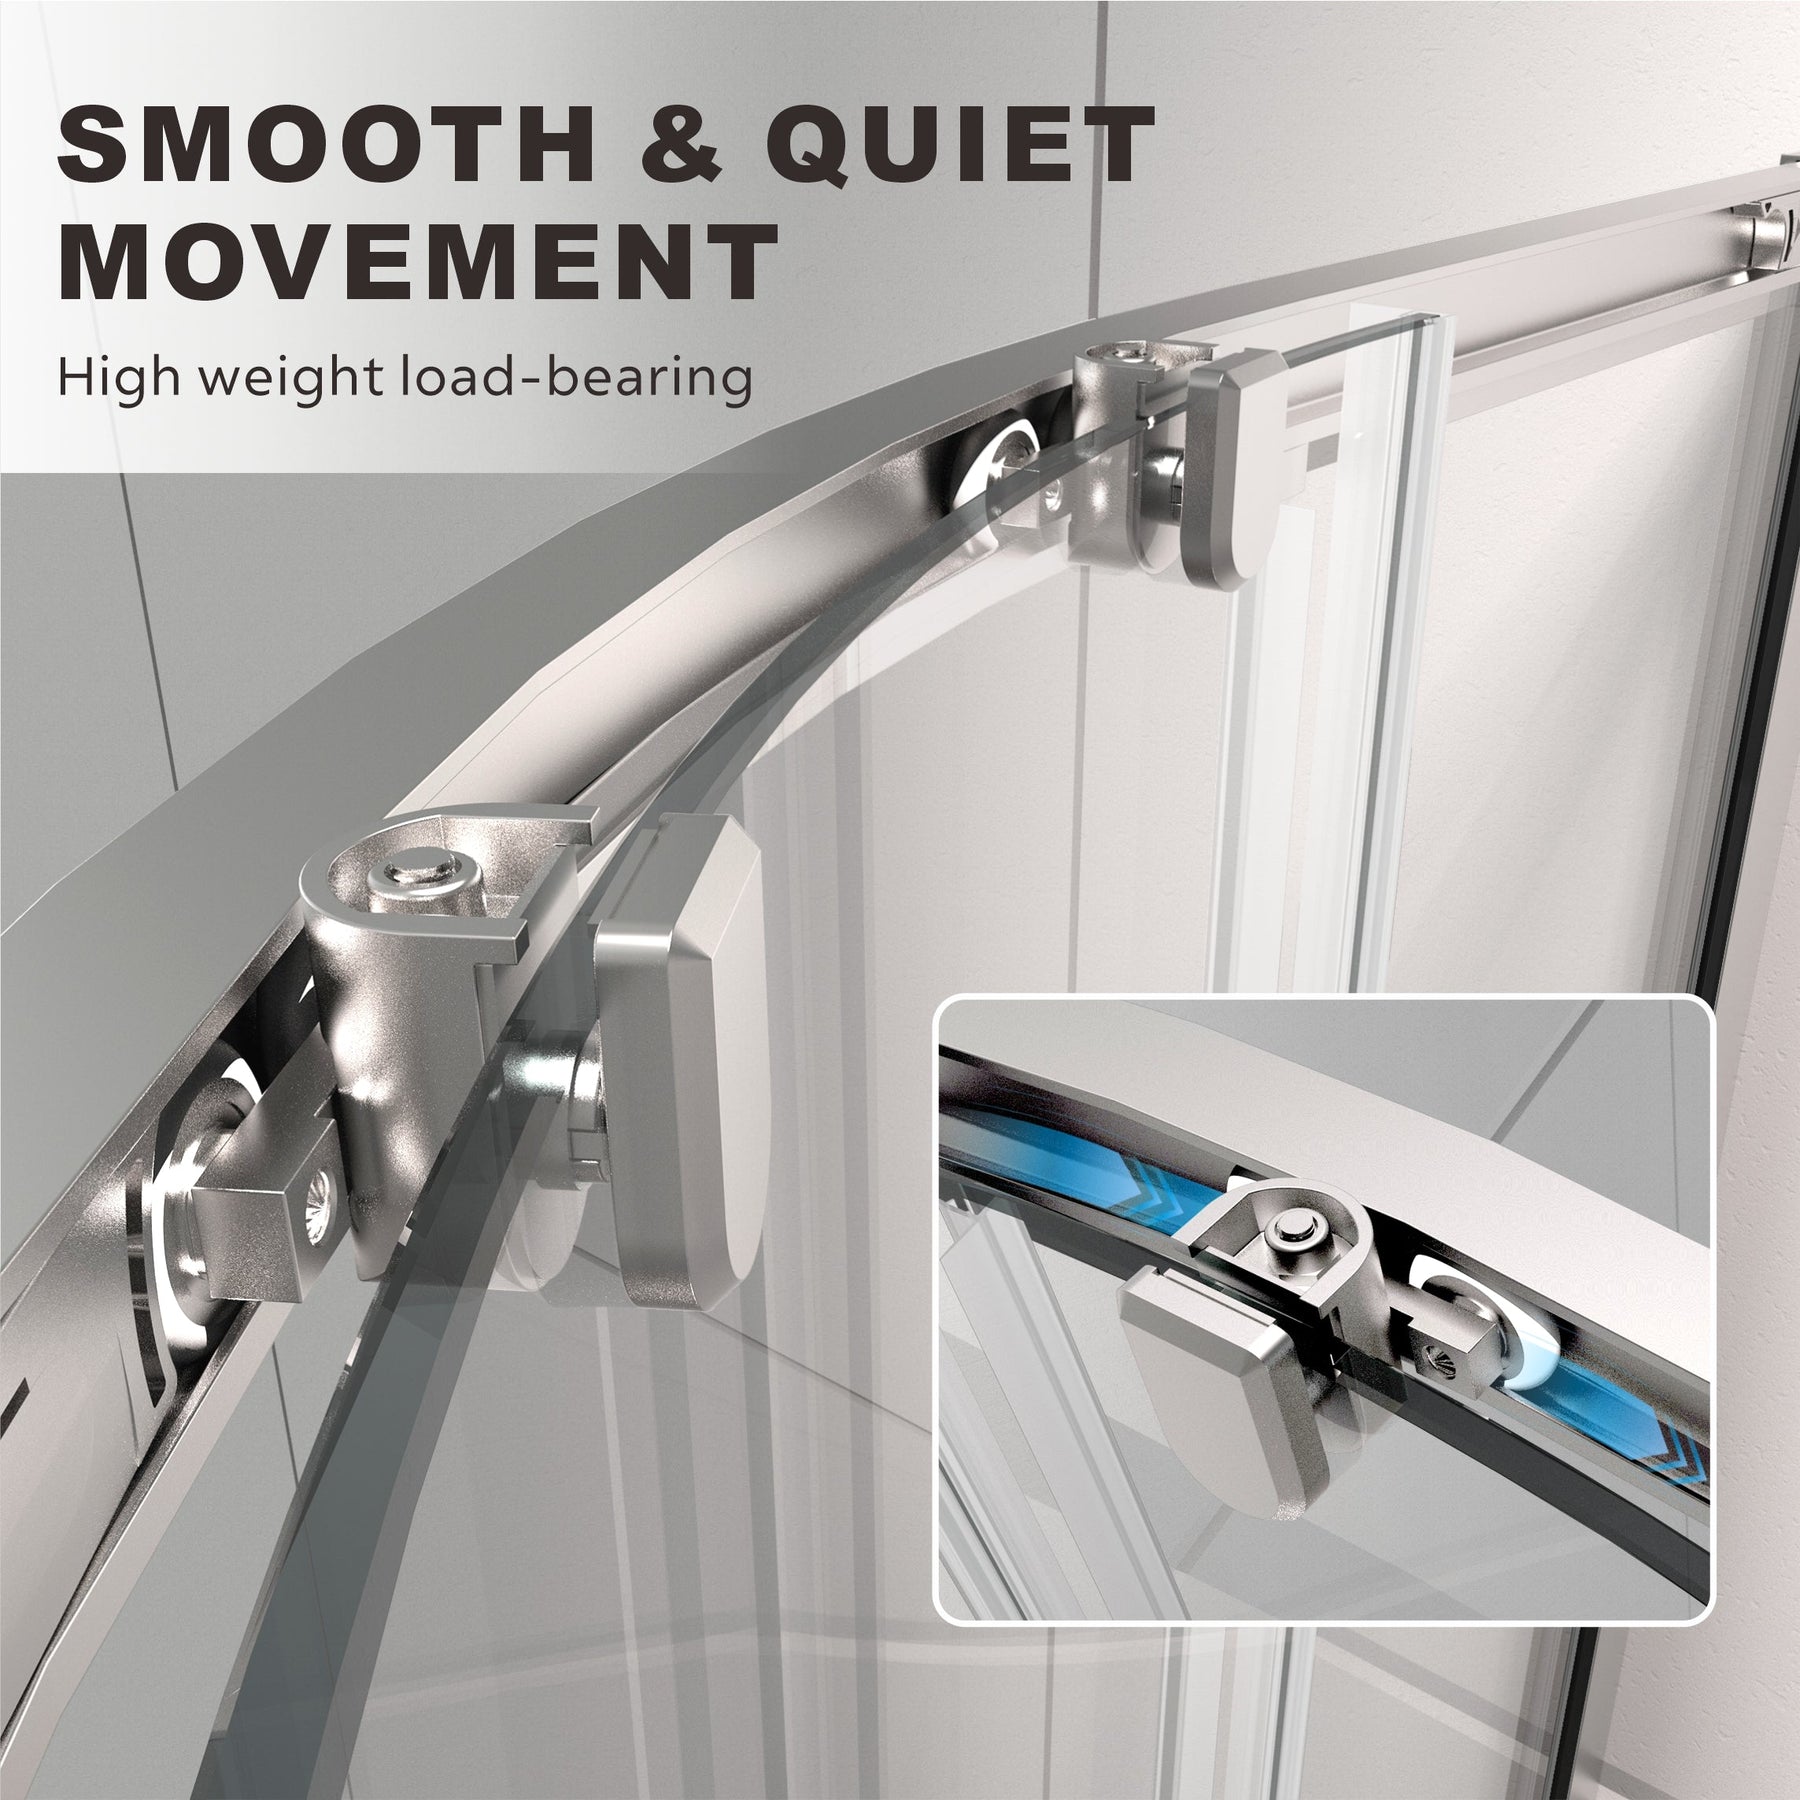
UK-F Sliding Structure: How It Works
Understanding the component logic before you open the box saves two hours of referencing the manual mid-install.

Mounts to both side walls
Carries full panel weight
Hook onto top track
Carry 3/8" glass panel
No floor track needed
Prevents panel swing
See every component in motion before you open the box — roller engagement, track mounting, and panel hang sequence.
Watch Installation Video →The Six-Step Installation
Measure up from the shower floor to your desired door height (72 inches for UK-F standard). Use a level to draw a horizontal line across both walls. This line is your top track reference — it must be level, not parallel to the floor, which is often not perfectly level itself.
Use a tile bit for ceramic or porcelain wall surfaces. Drill slowly with light pressure — tile bits need speed, not force. Insert wall anchors, mount the brackets, and hang the top track. Check level one more time before tightening fully.
The rollers attach to pre-drilled holes at the top edge of the glass panel. Hand-tighten only at this stage — final torque happens after the panel hangs and you confirm alignment.
One person holds the panel steady, the other guides the rollers up and onto the track from below. The rollers clip into the track groove — you'll feel a definite seating click. Don't force it. If it doesn't seat cleanly, check that the track bracket spacing matches the roller spread.
With the panel hanging, slide it to the closed position. Mark where the bottom edge of the panel meets the wall. Mount the wall guide at that point — it should contact the bottom edge of the glass with light pressure, enough to prevent swing without resisting the sliding motion.
Attach interior and exterior handles. Apply a continuous bead of neutral-cure silicone sealant along the wall edges of the enclosure. Smooth with a wet finger. Allow 24 hours cure time before running water.

Completion Checklist
Shop the UK-F corner enclosure · Get compatible sealants and tools · Installation questions? Contact us